
MyQ Roger supports embedded terminals on HP, Kyocera, and Ricoh Multi-Function Devices (MFDs). Each device must be paired with your tenant to enable secure printing and scanning.
Supported MFD Brands
|
Brand |
Terminal Type |
Notes |
|---|---|---|
|
HP |
Workpath Application |
Requires FutureSmart 5.7+ firmware. Deployed via HP Command Center. |
|
Kyocera |
HyPAS Application |
Two versions available: 26 (new) and 24.1 (classic). |
|
Ricoh |
SmartSDK Application |
Installed via MyQ Roger Ricoh Installer. |
General Prerequisites
Before pairing a printer, ensure that these prerequisites are met:
-
Firmware
The device is running the required firmware version. -
Network Connectivity
The MFD has outbound internet access on ports 443 (HTTPS). -
Time Synchronization
The device clock is synchronized totime.windows.com. An incorrect time will cause HTTPS certificate validation failures. -
Terminal Installed
The MyQ Roger terminal application is installed on the device (see brand-specific guides).
Supported Devices
To check if your device is supported by the relevant MyQ Roger embedded terminal, see the following pages:
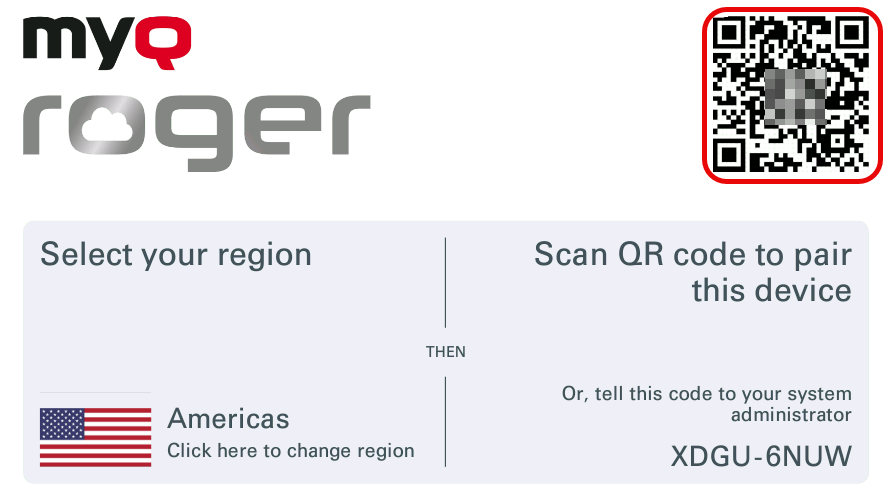
Pair a Printer Using a QR Code
This method uses the Mobile App and is recommended for quick pairing.
-
On the MFD, open the MyQ Roger terminal application.
-
Select your region (Europe or Americas).
-
The panel displays a Setup QR Code and a Manual Device Code.
-
On your smartphone, open the MyQ Roger Mobile App.
-
Tap the Login button and scan the QR code displayed on the MFD.
-
The printer is paired to your tenant.
The MFD panel refreshes to show the MyQ Roger login screen.
Pair a Printer with Device Code
This method uses the web console.
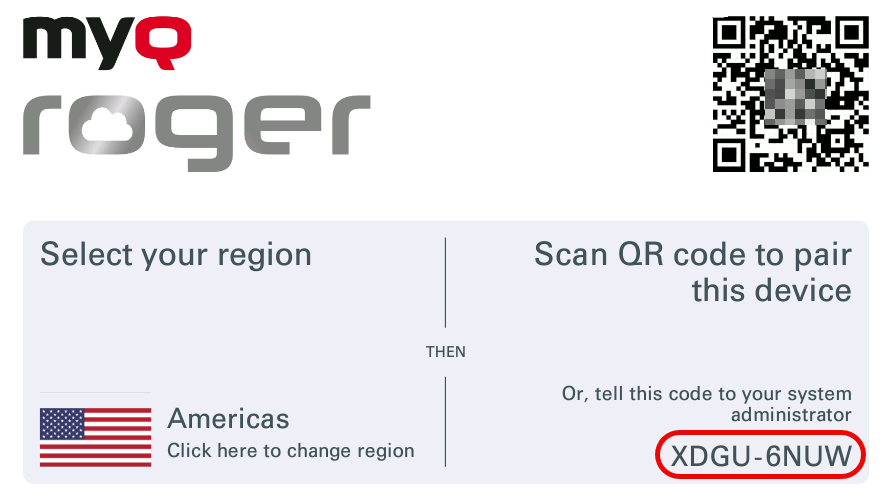
-
On the MFD, open the MyQ Roger terminal application and note the Manual Device Code.
-
In MyQ Roger Server, go to Supervision > Printers.
-
Click +Add New Printer and select Create printer with terminal.
-
Enter the device code shown on the MFD panel.
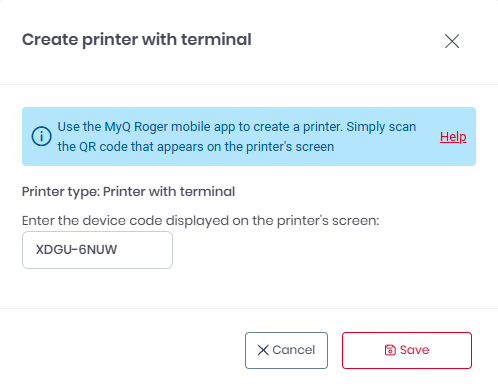
-
Click Save. The printer is paired to your tenant.
Verify Successful Pairing
After you have paired your printer with your MyQ Roger tenant, the terminal shows the MyQ Roger logo, and the enabled log in methods.
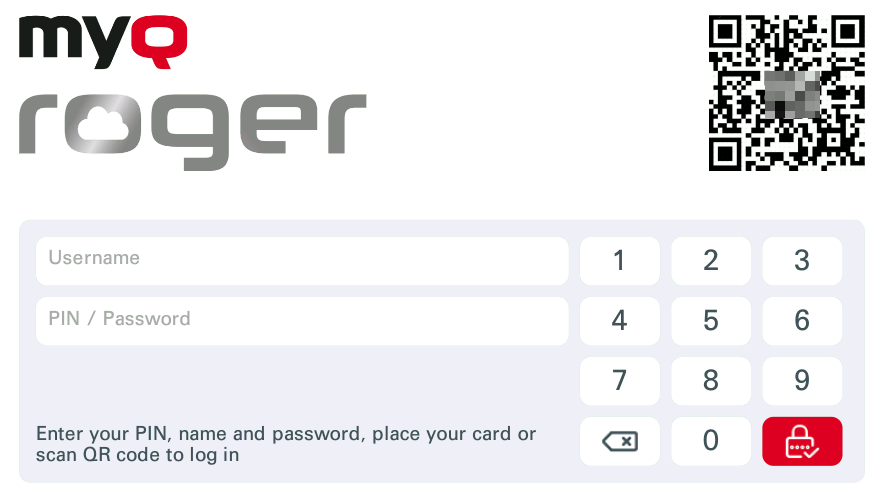
Authentication Methods
MyQ Roger supports four authentication methods for printer terminal login. All login methods are centrally managed from the MyQ Roger Server, where you can:
-
Enable or disable any login method.
-
Set the default login screen (e.g., QR for mobile-first environments).
-
Apply different login rules across devices using Printer Configuration profiles.
PIN Authentication
Users receive a PIN in their Welcome Email.
-
Users can reset their PIN via the MyQ Roger Server UI or the MyQ Roger Mobile App.
-
PIN length automatically increases as the user base grows (PIN Density management) to maintain security.
Dynamic QR Code
Users scan a Dynamic QR code displayed on the device terminal using the MyQ Roger Mobile App.
-
Touchless login.
-
Enables print management directly from the mobile device.
Card Authentication
-
Self-assignment: Users log in (PIN or QR), select Assign Card, and swipe their card to register it as their authentication method.
-
Admin assignment: Cards can be pre-assigned via Microsoft Entra ID by mapping a directory field to the card number.
Username & Password
Standard credential login using your MyQ Roger credentials. This method is typically used as a backup method, or for users without mobile devices or cards.
Configure Workflows
After pairing your device/s, you are ready to start using workflows. A workflow is a chain of actions and decisions required to perform a task – for example, scan to cloud storage location, scan to department email, copy B&W to duplex. Workflow templates turn repetitive scan and print actions into one-tap operations. By defining settings once, such as sides, color, resolution, and format, you ensure consistency, reduce errors, and speed up everyday use.
Follow these steps to enable scan-to-email. After you perform these steps, the corresponding workflow is automatically enabled and available.
Enable Scan to Email on Device
MyQ Roger uses the device local SMTP server for sending scans to email.
-
Open the device Web UI and sign in as Administrator.
-
Navigate to Device Management (or Configuration) > Device Settings > Email (exact label varies by brand) and enter your SMTP server hostname, port, authentication credentials, and TLS/SSL settings.
-
Run the SMTP Connection Test or Send Test Email from the Web UI to confirm connectivity.
(On Ricoh devices, disable the MyQ Roger app temporarily to access the native e-mail settings and run the test). -
Confirm that scan features and user scan privileges are enabled in device settings.
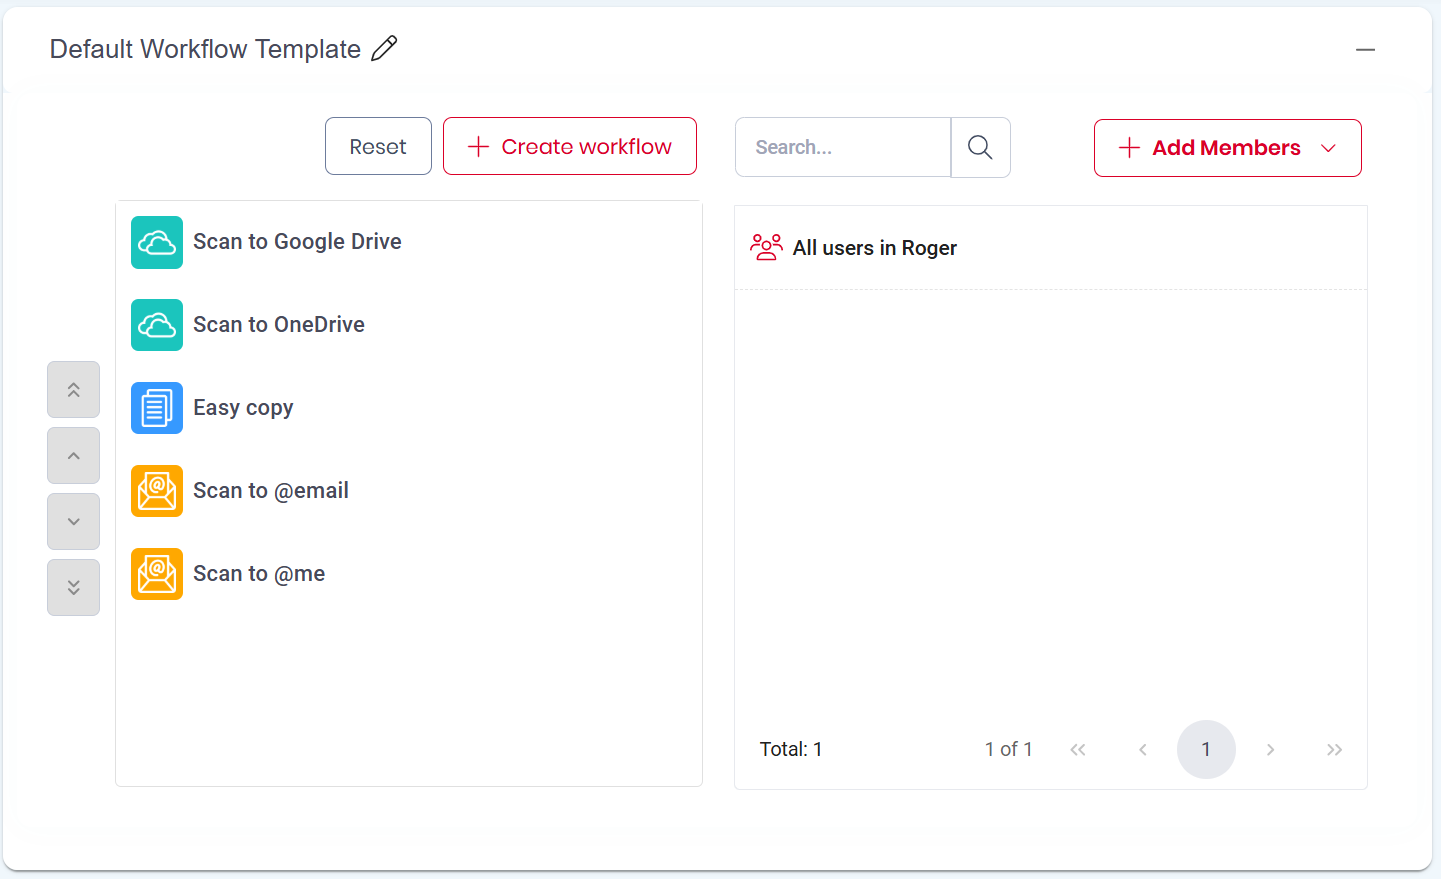
Customize Scan to Email Workflow
-
Go to MyQ Roger > Workflows > Templates.
-
Click Edit on the Scan to @email workflow.
-
Customize the general options and scanning parameters, and click Save.
-
(Optional) By default all users can access the default workflow template. Customize the users and groups who can use the template, or create your own template.
Brand-Specific Terminal Documentation
For detailed installation and configuration instructions, refer to the appropriate guide: