
Now that setup is complete, your users can securely print and scan on any paired multi-function printer (MFP).
Print a Document
Print from Computer
Print a document directly to a paired printer using MyQ Roger Client.
-
Open a document in any application.
-
Select Print and choose the MyQ-Roger-MRC printer (or your configured printer name).
-
Click Print.
The job is sent to MyQ Roger. -
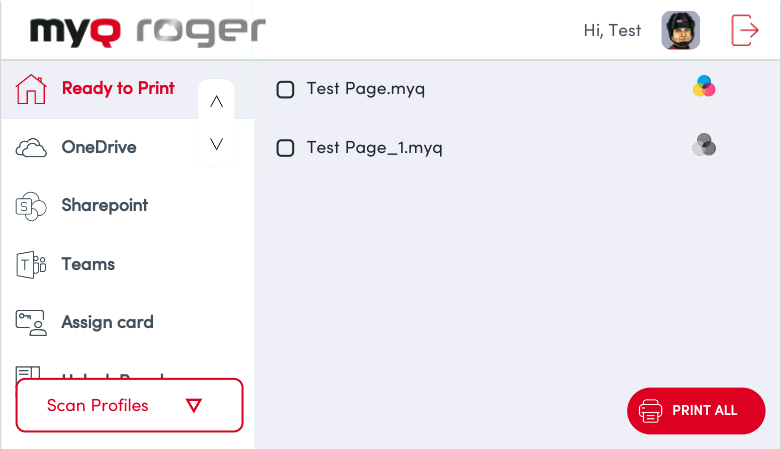
To verify, check your Ready to Print queue in the MyQ Roger web UI.
Release a Print Job
You can release a print job at any paired MFP.
-
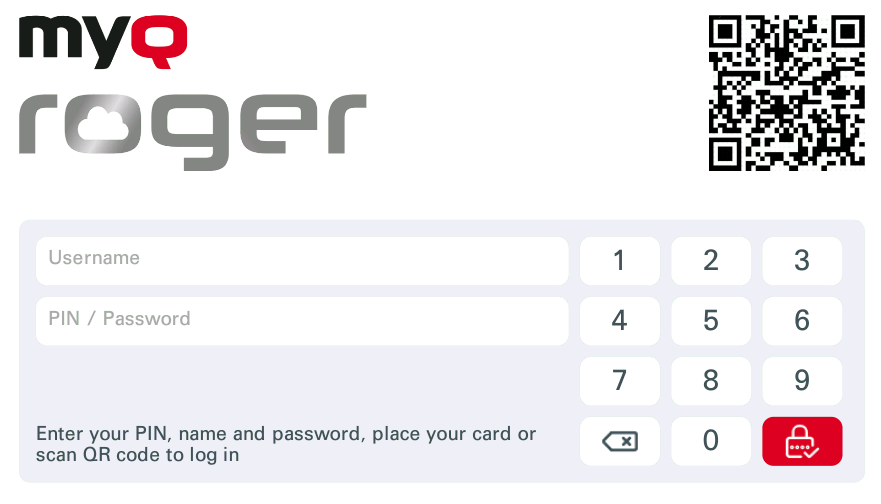
Log in with one of the configured methods:
-
Scan the QR code with the MyQ Roger Mobile App.
-
Enter your PIN on the terminal.
-
Use NFC or Bluetooth with the Mobile App.
-
-
On the MyQ Roger terminal, tap Print All to release all pending jobs, or select specific jobs.
-
Collect your printed documents.
Scan a Document
Scan, store, and share documents from any paired MFP, or use your mobile device as a scanner with the MyQ Roger Mobile App.
Scan with MFP
-
Log in with one of the configured methods:
-
Scan the QR code with the MyQ Roger Mobile App.
-
Enter your PIN on the terminal.
-
Use NFC or Bluetooth with the Mobile App.
-
-
Place your document on the scanner glass or in the document feeder.
-
Select your scan workflow:
-
Scan to Email/@me: Enter or confirm the recipient address, set scan options (format, resolution, color, duplex), and tap Scan. The file is sent directly via your SMTP server or Cloud REST API, depending on the settings in the printer configuration.
-
Scan to OneDrive: Set your options, and tap Execute. You can also browse OneDrive to your preferred location and click Scan here.
Note: Your OneDrive account must be connected to MyQ Roger. You can connect it in the Web UI, Mobile App or by signing in with Microsoft on MRC from a synced user account.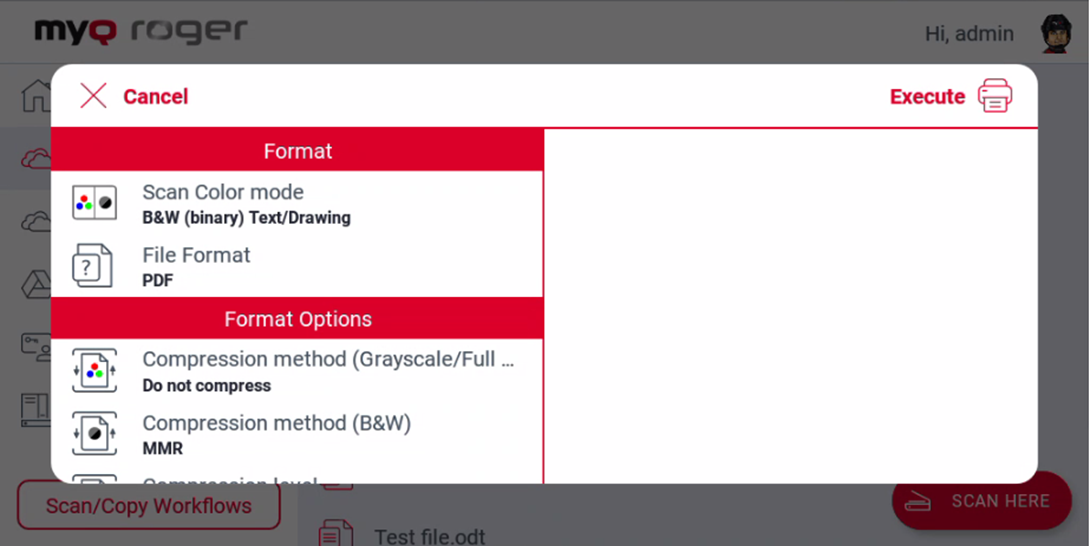
-
-
To access your scanned document:
-
Scan to Email/@me: Check the recipient mailbox.
-
Scan to OneDrive: Check the folder
OneDrive\Apps\MyQ Roger\Scan, or the selected folder.
-
Scan with Mobile App
-
Open the MyQ Roger app and tap Scan to @email.
-
Enter the recipient address.
-
Use your phone's camera to capture the document.
-
(Optional) Tap Scan with OCR to enable automatic edge detection and character recognition.
-
Save to your phone, cloud storage, or send via email.