This section explains what your guests experience when they use PrintSharing. Understanding the guest perspective helps you provide better support and set appropriate expectations. The entire process should take no more than a few minutes. After successful payment completion, print jobs are released within seconds.
How to Use PrintSharing
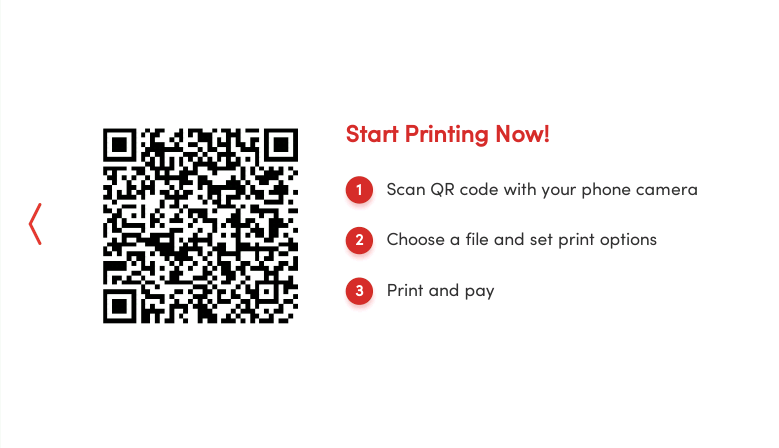
When PrintSharing is set as the default login method by the Roger admin, you see this screen on the device.
Steps
-
Scan the QR code on the printer display. MyQ Roger opens on your mobile device, and automatically connects to the Roger server in a few seconds.
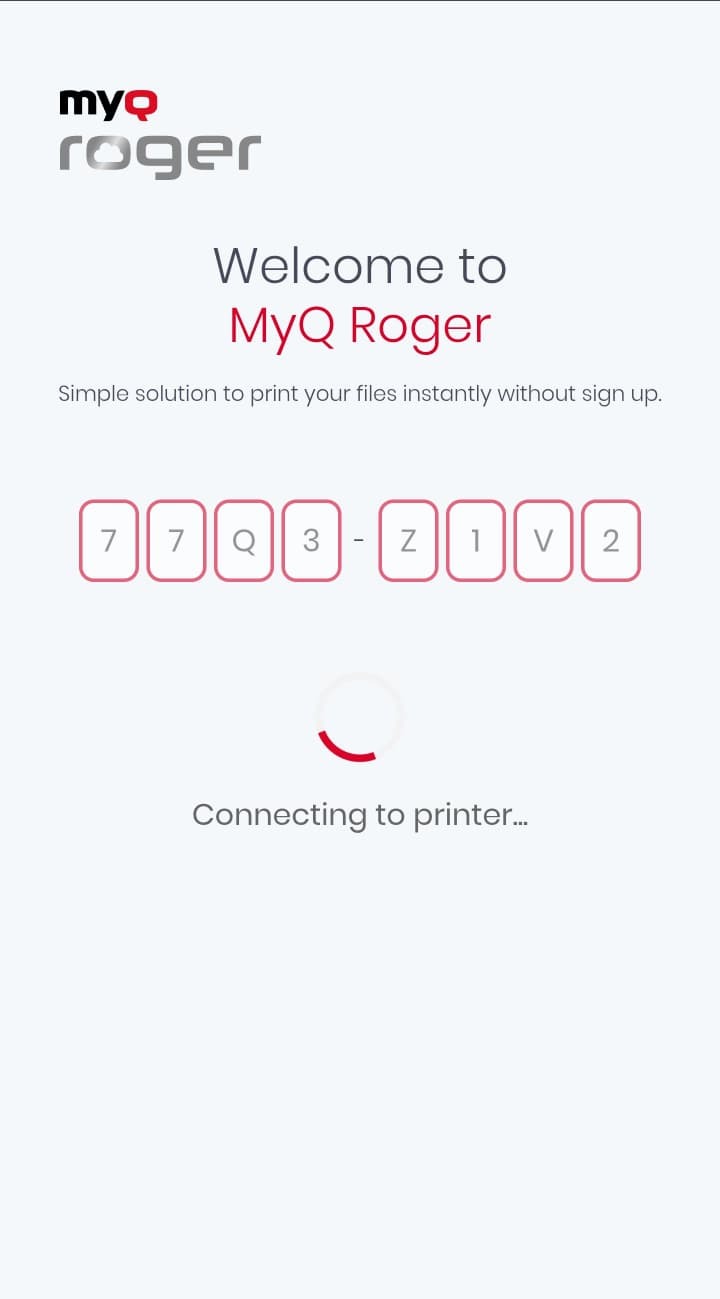
If the Roger application is not installed on the device used to scan the QR code, the following steps are completed in the default web browser. PrintSharing in the web browser only supports printing PDF files.
-
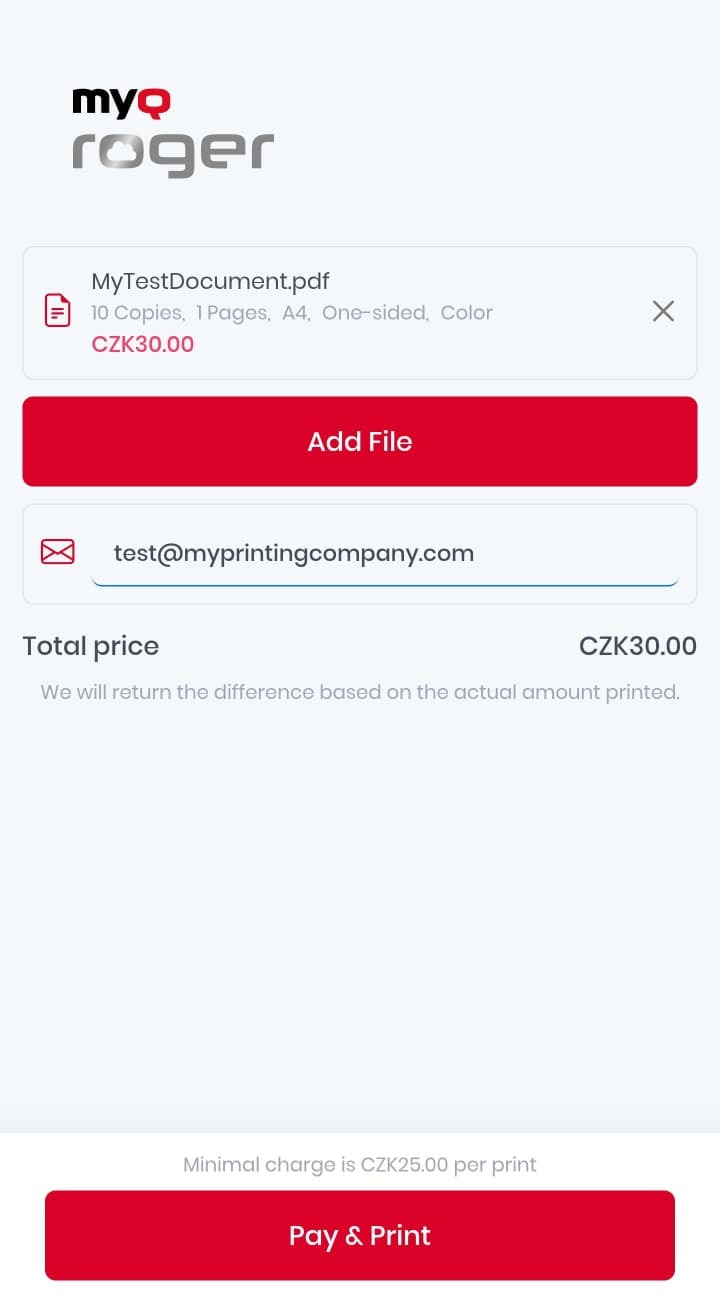
Select files to print from mobile device and enter the email address where you want your receipt to be delivered, and tap Add File.
-
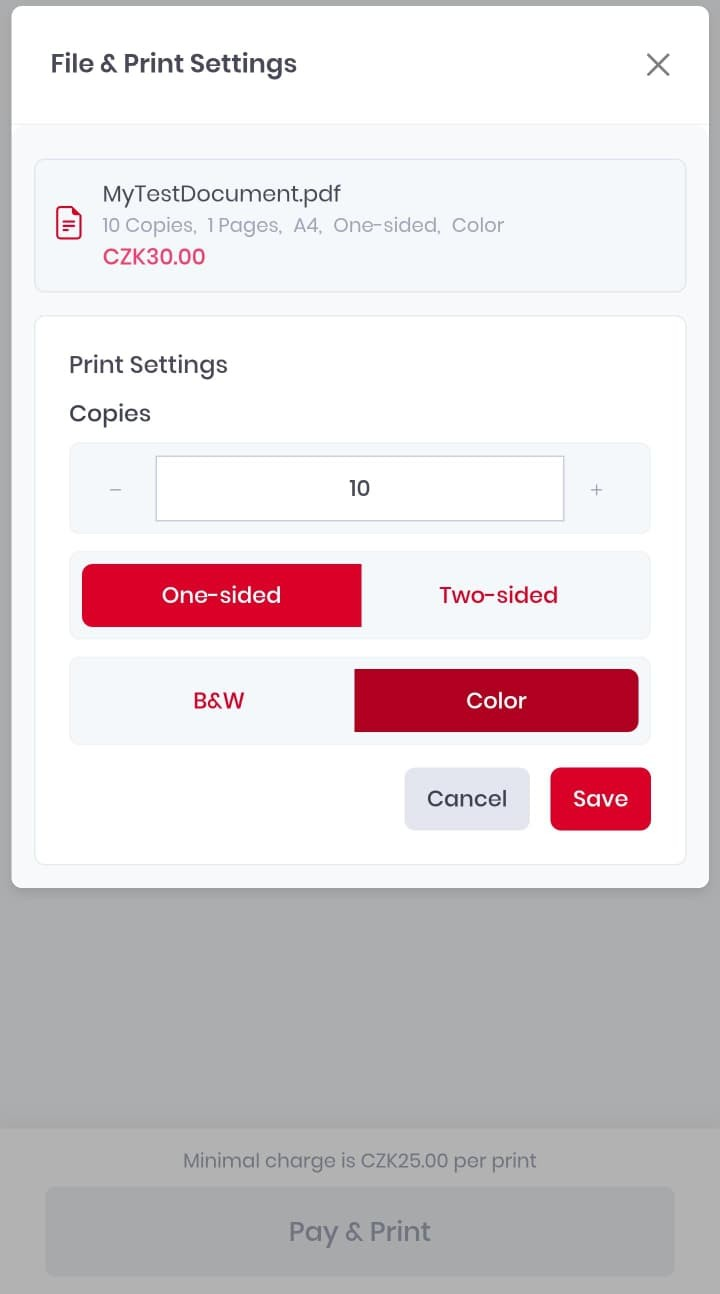
Select a file and customize the print settings (number of copies, one/two-sided printing, and color mode).
-
Tap Save to save the print job and return to the home screen.
-
When you have added and configured all documents, tap Pay & Print on the home screen.
-
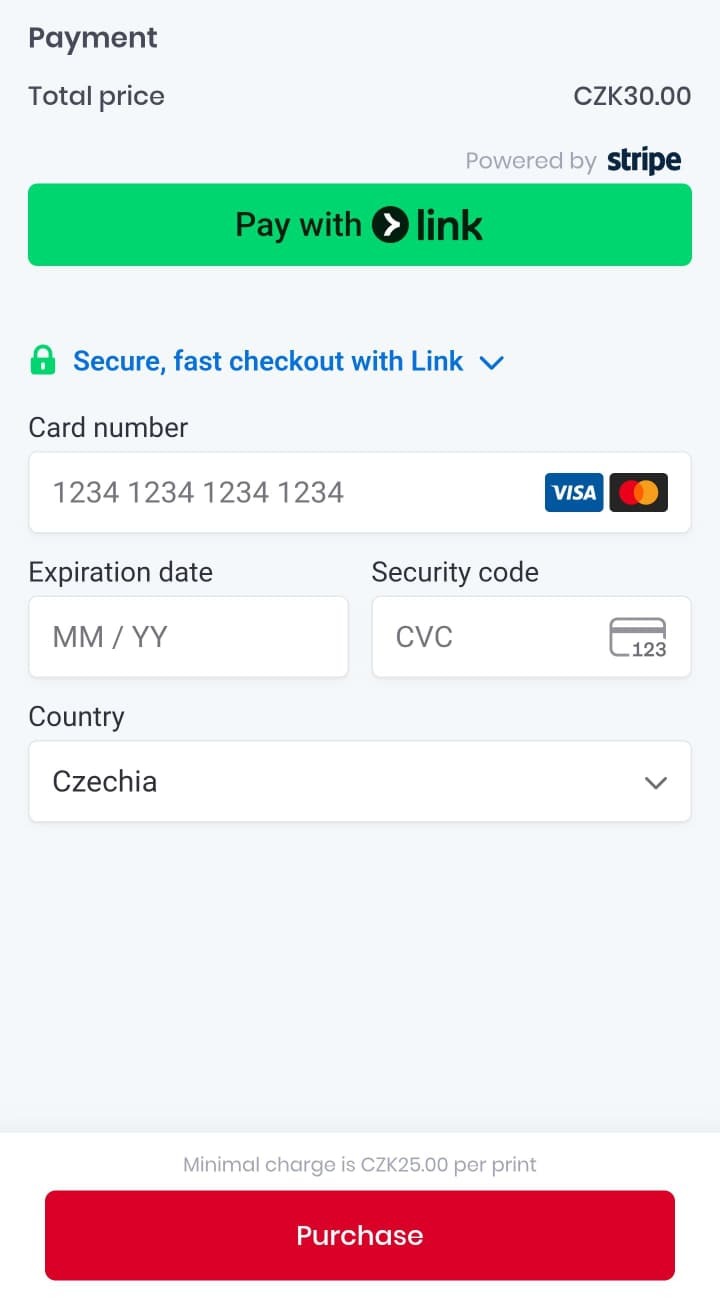
Complete the payment using Stripe.
-
After a successful payment, you see the following message.
Your documents start printing in a few seconds.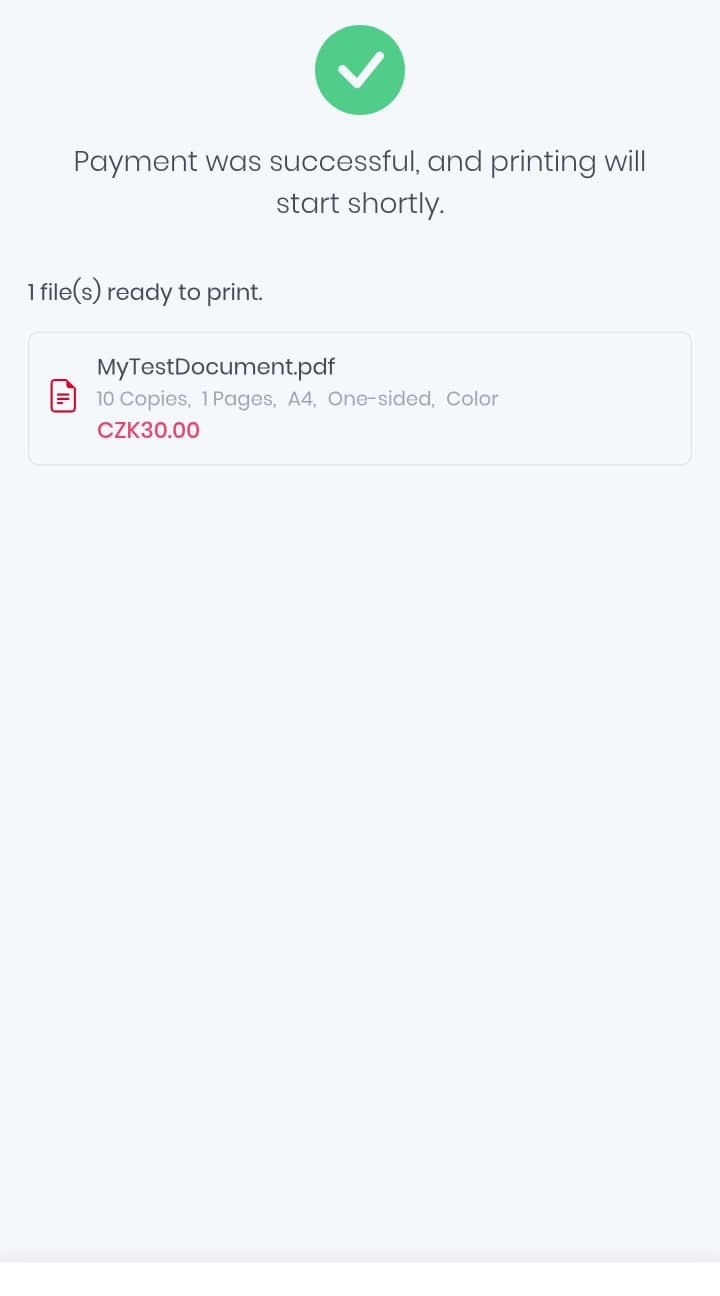
-
After your documents are printed, the receipt is sent to the email address that you entered.
-
To log out immediately, tap the Log Out icon. Alternatively, after 5 minutes of inactivity, your session ends.
After your session ends, the print jobs that you uploaded are deleted from the server. None of your information is saved on the printer.
Copying Documents
If a guest is accessing PrintSharing on an HP device running on Roger Server 2.21+, they will also see the option to Copy Document. Copying documents is simply a combination of scanning and then printing documents, and works as follows:
-
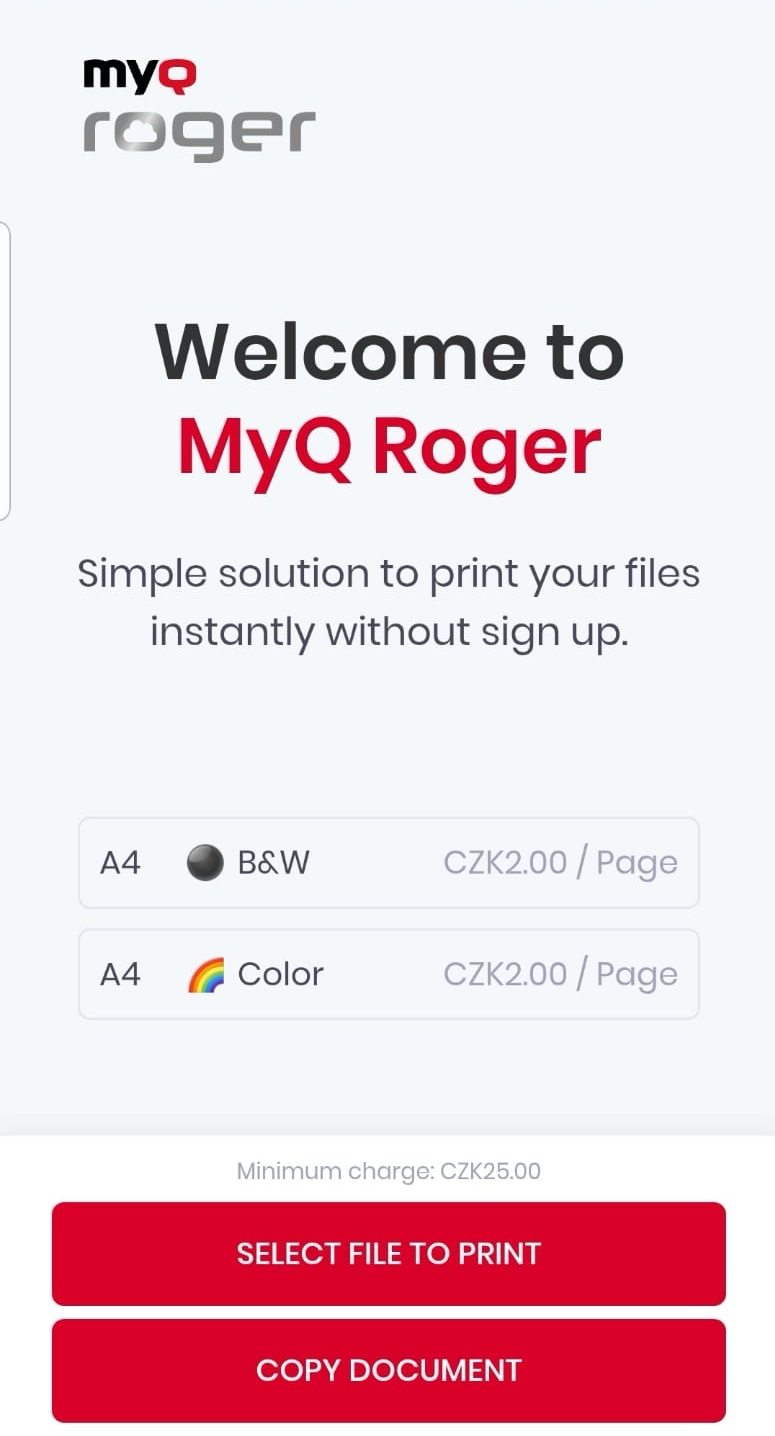
Select Copy Document on the PrintSharing welcome screen.
-
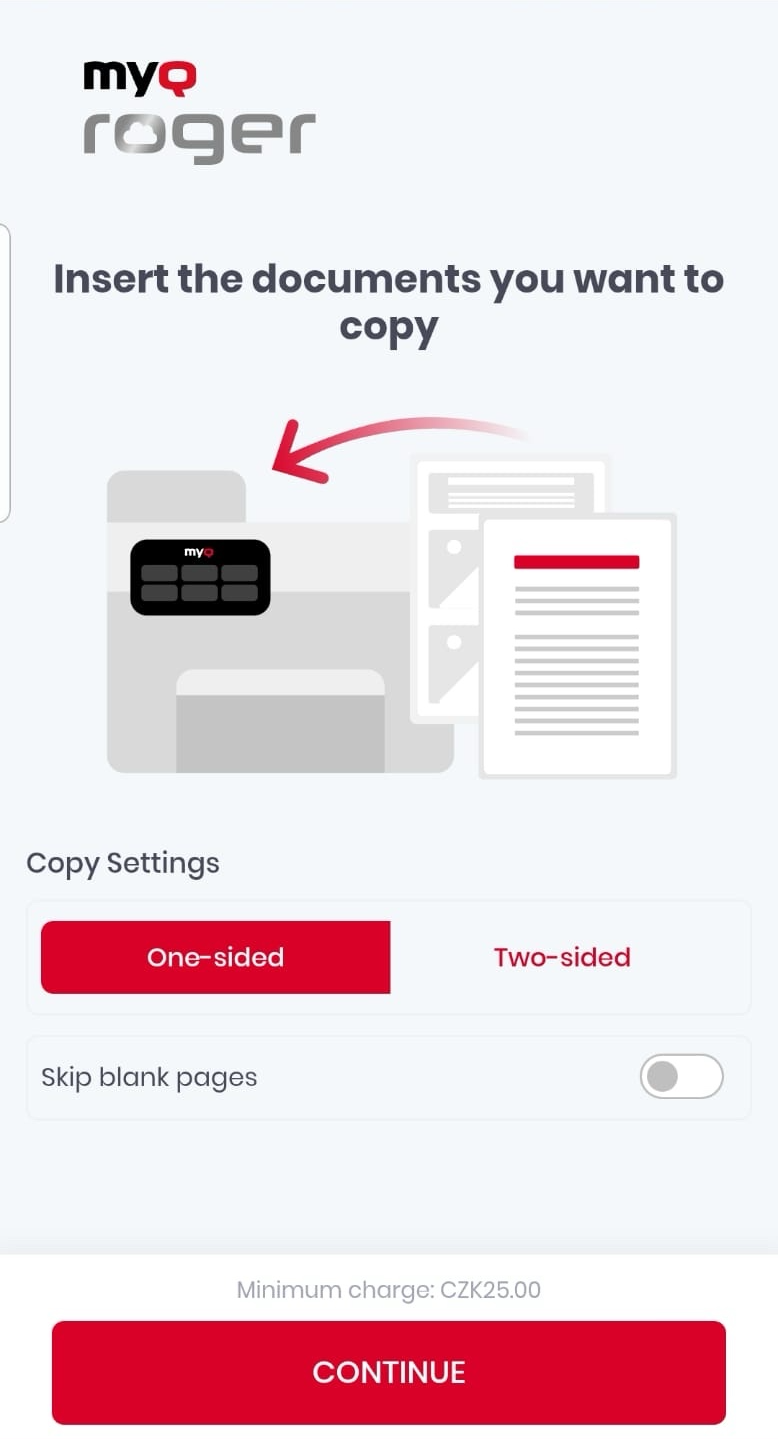
Insert the documents to be copied into the device, select One-sided or Two-sided copy and enable or disable Skip blank pages.
-
A Scanning in progress… screen is displayed while pages to be copied are scanned.
-
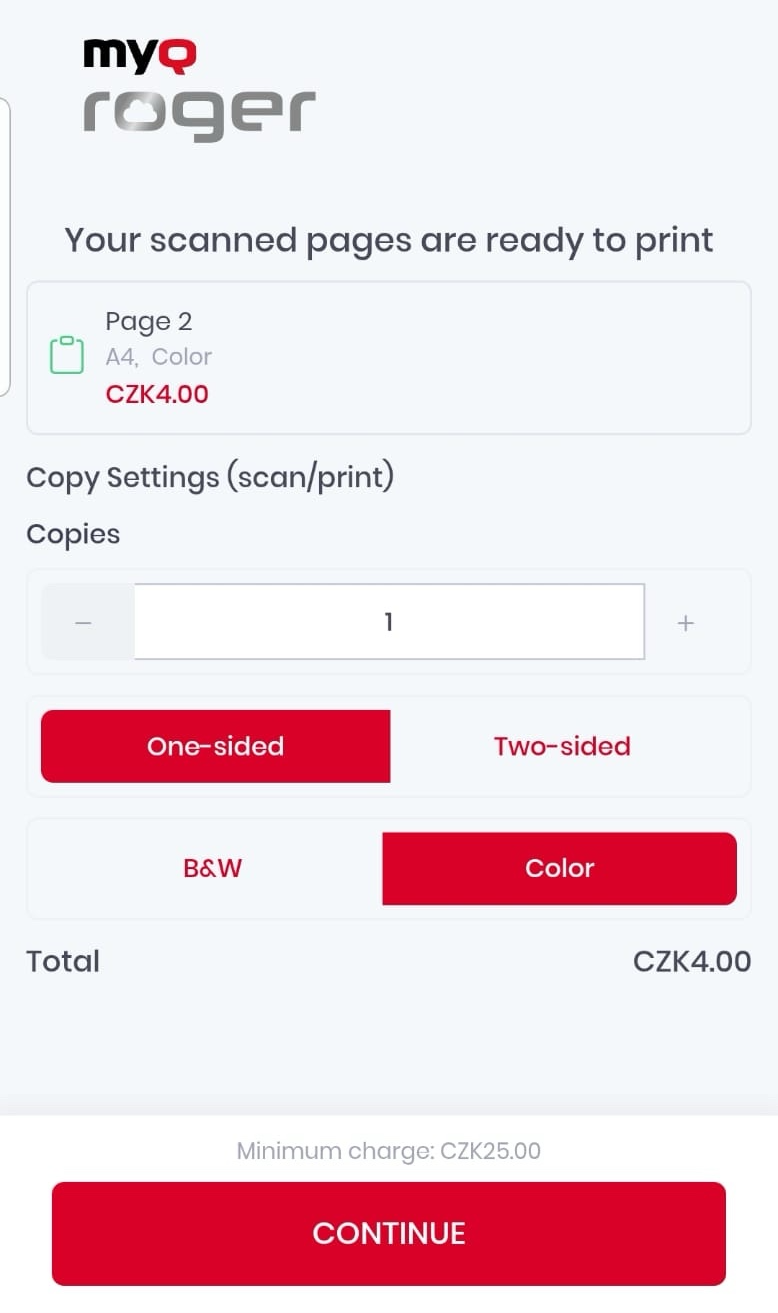
The scanned pages are ready to print, users can:
-
Select the total number of Copies to print
-
Choose if printed pages should be One-sided or Two-sided
-
Choose if printed pages should be B&W or Color
-
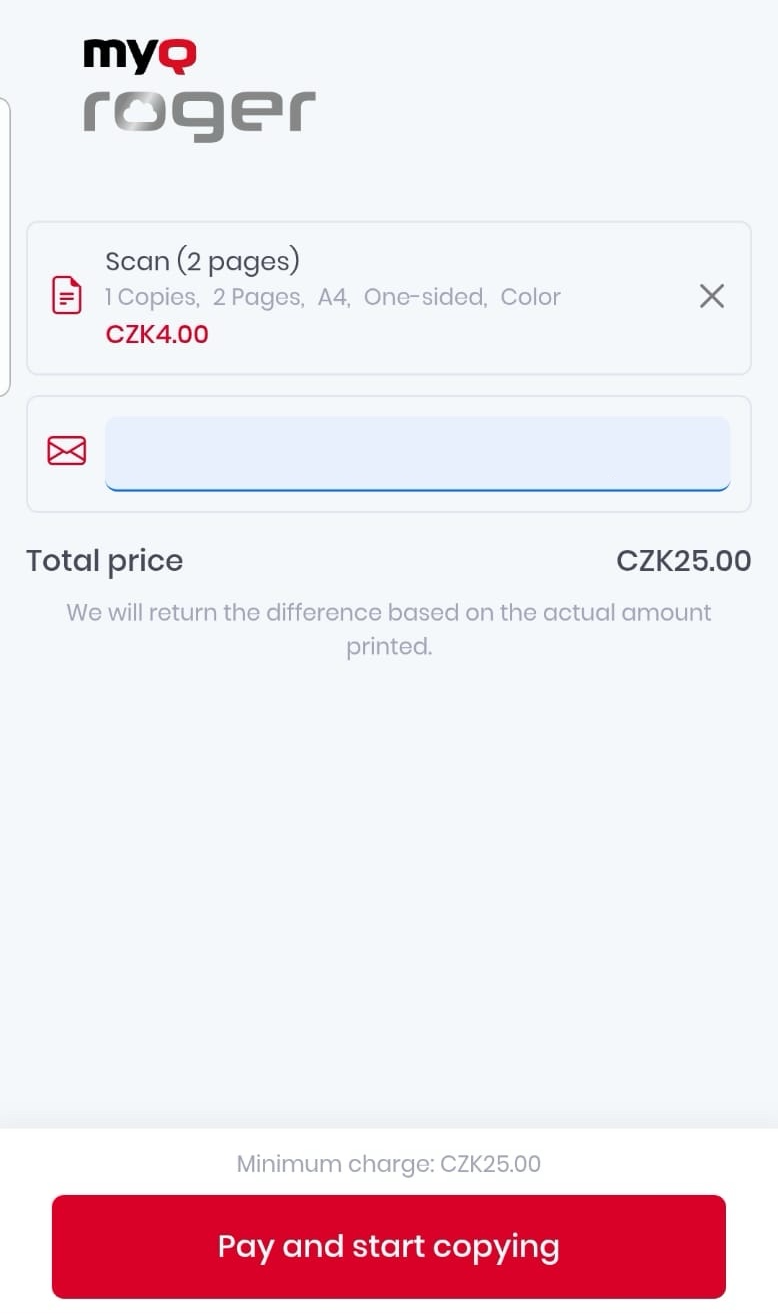
View the total price with the selected options
-
-
Users enter their email address and select Pay and start copying to begin printing the scanned pages.