Printers
On the Printers page, in Supervision > Printers, the MyQ Roger administrator:
has a full overview of all the printers connected to their tenant,
can export the printers' list to Excel,
add new single-function printers.

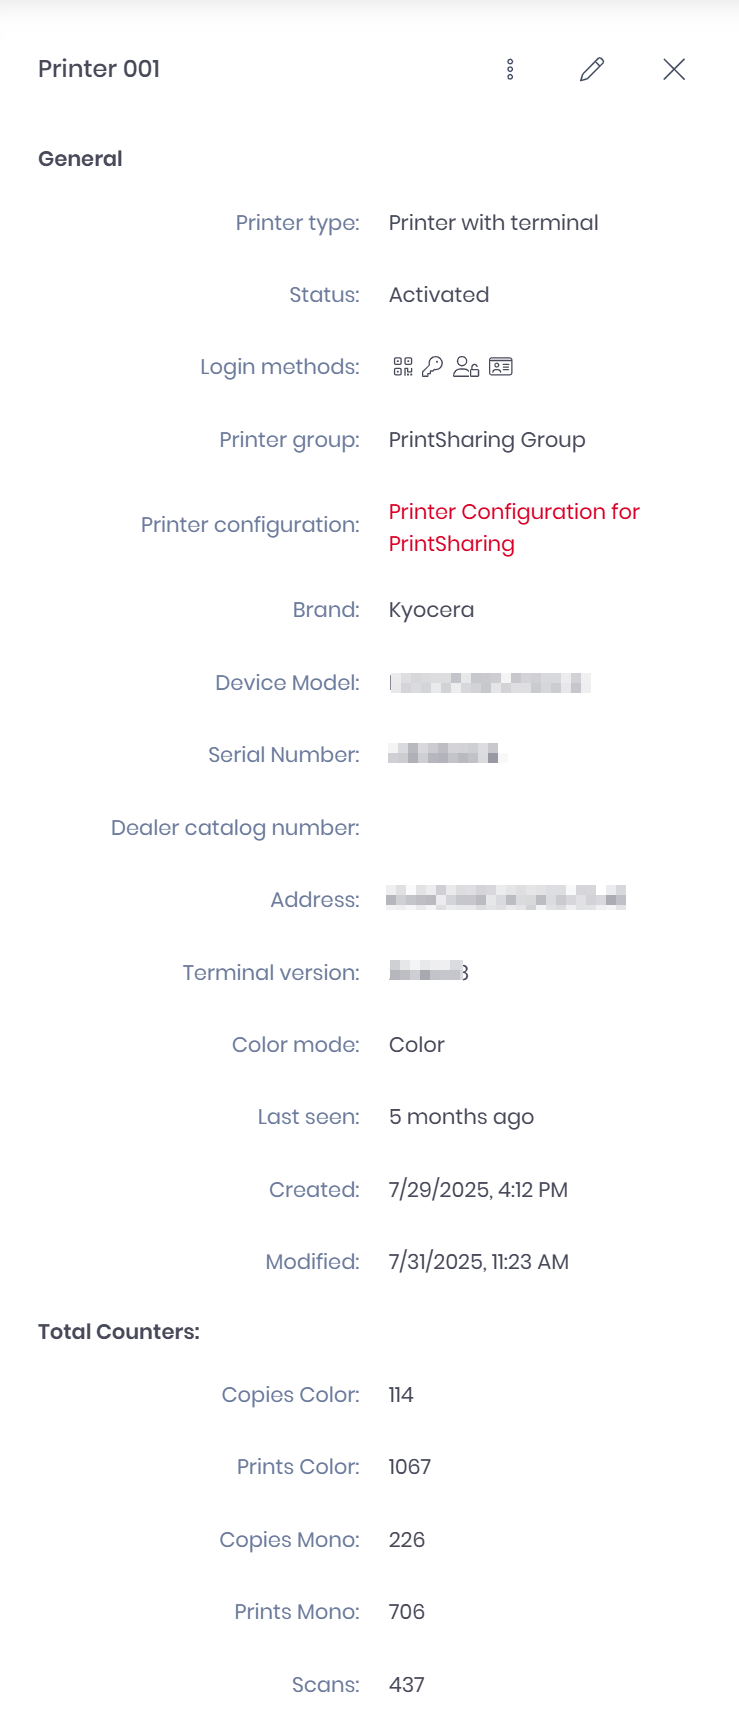
To view details about a specific printer, click a row in the table. The Printers Detail panel opens. From here, you can view and edit some attributes of the printer,

Under Show advanced filters there are many filters available that can be used to modify what printers are displayed in the overview.

On the upper-right side, you can use the Column selection button to rearrange the columns shown in the overview.
You can drag-and-drop columns from one side to the other or select a column using the arrows in the middle and then click Save. All the columns in the Shown columns side will be displayed in the printers overview.

Adding Printers
New printers (with embedded terminals) should be added via the pairing method, described in MyQ Roger and MFDs.
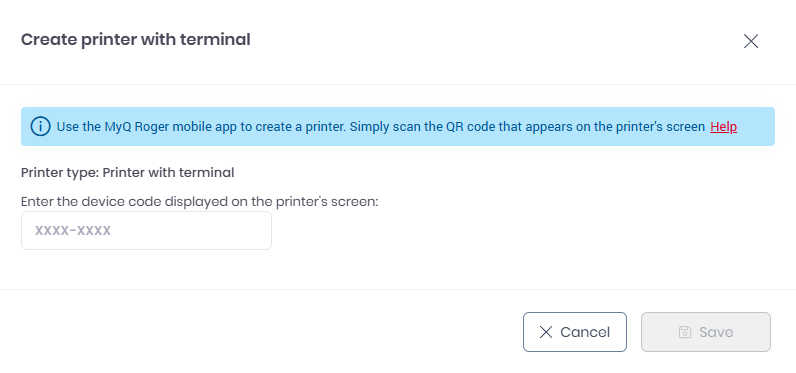
You can also click the Create printer with terminal button, enter the device code displayed on the printer’s screen, and click Create.

Single-function printers can be added via the Create new single-function printer button, described in Single-Function Printers.
Managing Printers
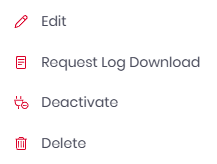
The MyQ Roger administrator can manage printers via the three-dot menu after clicking on a printer. The available actions are Edit, Request Log Download, Deactivate, and Delete.

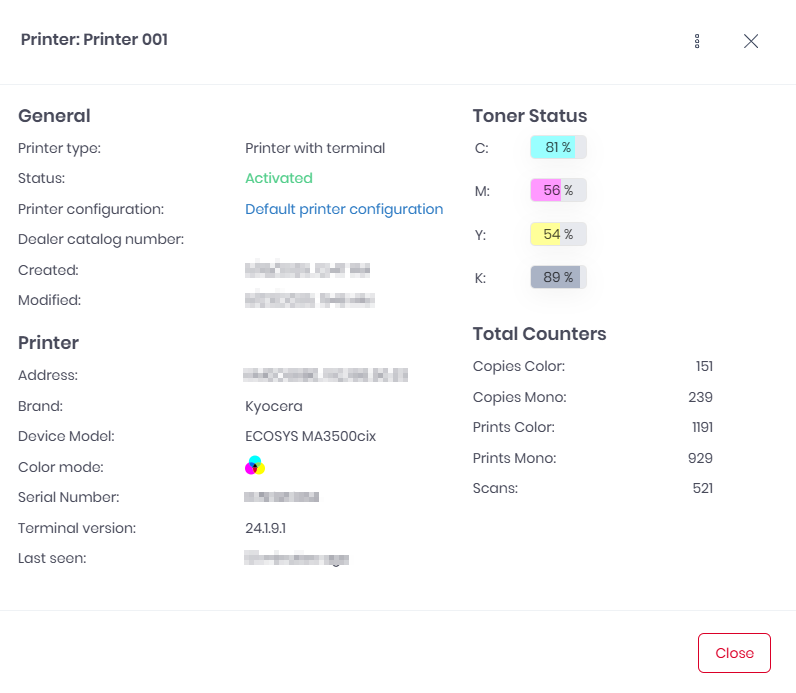
View - Click to view the printer’s details, such as general information, toner status, printer state, and printing counters.

Edit - Edit the printer’s details, such as display name, brand info, IP address, etc.
Activate/Deactivate - Depending on the printer’s status you can either activate or deactivate it.
Delete - Delete the printer.
Request Log Download - Generates the log download for the selected printer.
Download Log - Downloads the last generated download log.
Exporting Printers
Users can also use the Export to Excel button in the upper-right corner to export the printers' list.
