Printer Groups
Printer Groups require the paid MyQ Roger Cloud Print Management license.
In Supervision > Printer Groups, the MyQ Roger administrator (or a user with the Administration/Printer Groups, Administration/Price Lists, and Administration/Device configurations permissions) can create and manage printer groups.

Click Add printer group to create a new printer group.
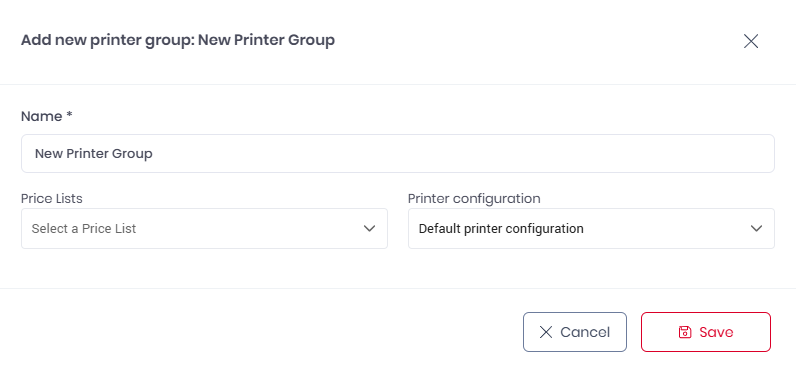
In the pop-up window, add a Name for the new printer group.
You can attach a price list to the new printer group. Select one from the Price Lists drop-down and click Save.
The price list assigned to the printer group will replace the default price list (in case there was a default price list set before creating the printer group). Then, the default price list will only apply to printers that are not assigned to any printer groups. For more information, check Price Lists.
You can also attach a Printer Configuration to your new printer group.
Select one from the Printer configuration drop-down and click Save.
The New Printer Group appears on the Printer Groups list on the left side.
To edit the printer group, hover over it and click on the three dots next to it. Choose Edit to modify its name, price list, and the printer configuration attached to it. Choose Delete to delete the printer group.
Select the new printer group and, on the Printers tab on the right side, click Add printer to add printers to it. In the pop-up window, select the printers you want to add, and click Save.

To remove printers from a printer group, click on the X (delete) button next to the printer.
Select the new printer group and, on the Printer configuration tab on the right side, you can view the settings of the printer configuration attached to the printer group.
To modify the printer configuration settings,
Go to Administration > Printer Configurations. For more information, check Printer Configurations.

