
In the MyQ Roger web server, go to Administration > Printer Configurations to manage your printer configurations.
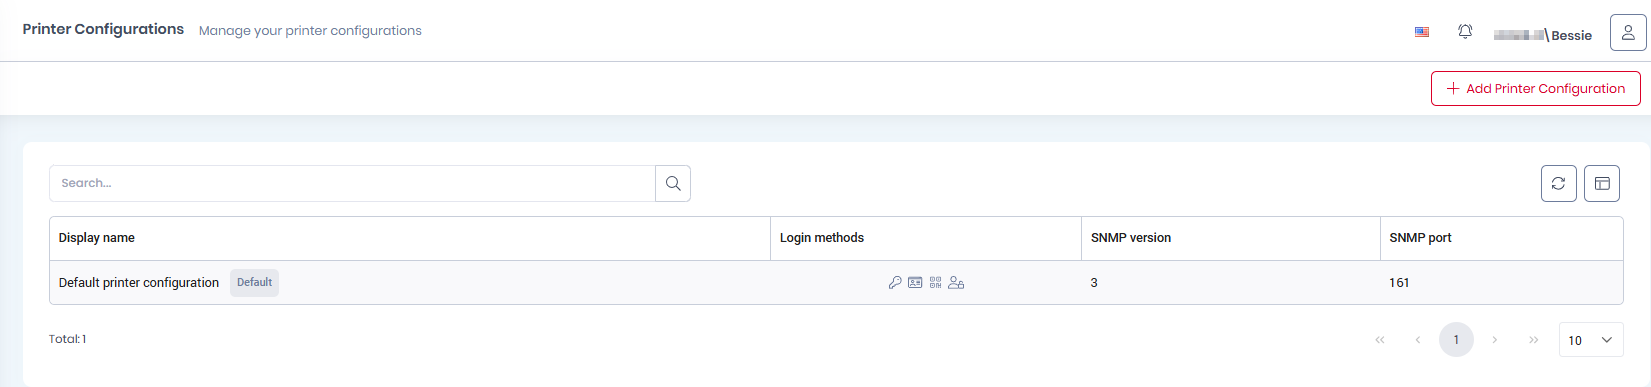
Every tenant has a Default printer configuration profile (previously known as Device Settings). It contains multiple device settings such as login methods, SNMP settings, etc., and it is automatically assigned to all the printers in the tenant.
Administrators can create new printer configurations if a paid license with this feature is applied to the tenant.
The Default printer configuration cannot be deleted, however, if you have the option for multiple printer configurations, you can select which one will be the default.
Creating a New Printer Configuration
This option is only available if the paid MyQ Roger Cloud Print Management subscription edition is applied to the tenant.
To create a new printer configuration, click + Add Printer Configuration in the upper-right corner.
In the pop-up window, configure the settings for your new printer configuration profile. Details for the various settings tabs can be found below.
General
-
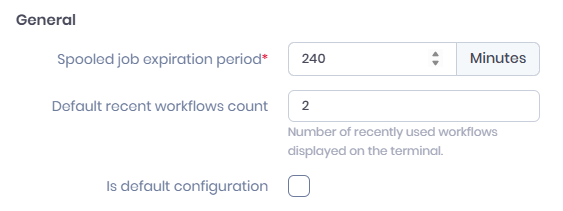
Spooled job expiration period: set a period in minutes after which spooled jobs expire.
-
Default recent workflows count: set the number of recently used workflows to be displayed on the terminal.
-
Is default configuration: enable to make default.
Login
-
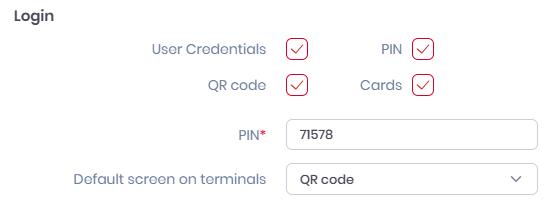
Select allowable login methods from:
-
User Credentials
-
PIN
-
QR code
-
Cards
-
-
Pin: set an administrative PIN to open the admin mode on devices.
-
Default screen on all terminals: set the default type of login screen to show.
SNMP
-
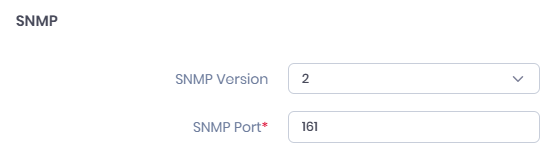
SNMP Version: set the SNMP version to be used by this profile.
-
SNMP Port: set the SNMP port to be used by this profile.
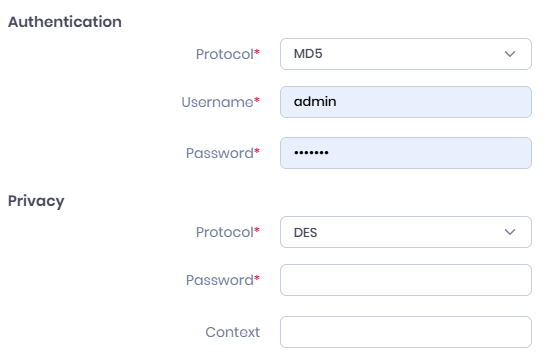
If the SNMP Version is set to 3, more options become available.
-
-
In Authentication
-
Protocol: choose from MD5, SHA1, SHA256, SHA384, SHA512.
-
Username: add a username for authentication
-
Password: add a password for authentication.
-
-
-
In Privacy:
-
Protocol: choose from DES, AES128, AES192, AES256.
-
Password: add a password for authentication.
-
Context: This should be the same both here and on the device; otherwise, printing might be stopped. Context is an identifier for the data being communicated and is added as an extra security step.
-
Job Release

-
Protocol: choose a protocol from:
-
Raw

-
Choose a Port, the default is 9100
-
-
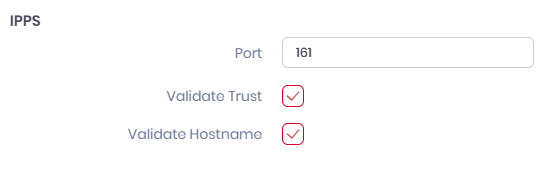
IPPS
-
Choose a Port, the default is 161
-
Enable or disable validation of Trust and Hostname
-
-
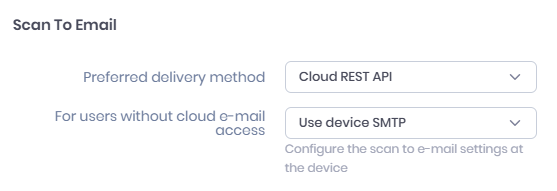
Scan to Email
-
Preferred Delivery Mehod: Choose from Cloud REST API or Device SMTP.
-
If Preferred Delivery Mehod is Cloud REST API, choose a method for users without cloud e-mail access from Use Device SMTP or Hide the scan to email workflows.
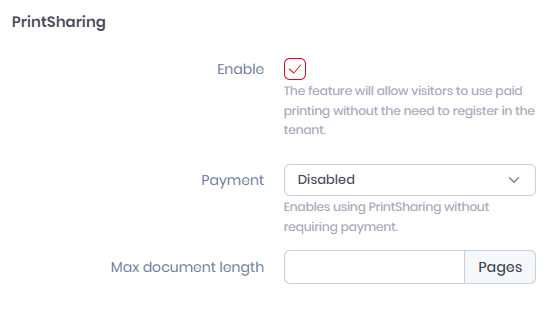
PrintSharing
-
Enable or Disable PrintSharing, if enabled set:
-
Payment: enable or disable
-
Max document length: set in pages
-
Cloud storage
-
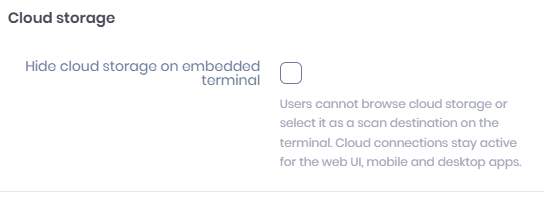
Hide cloud storage on embedded terminal: enable or disable.
If you open an existing Printer Configuration and edit it, two additional sections are available.
Kyocera
-
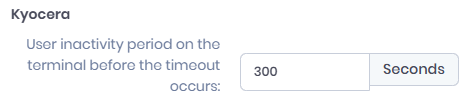
User inactivity period on the terminal before the timeout occurs: set in seconds
Ricoh
-
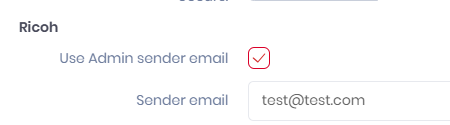
Use Admin sender email: if enabled and the Sender email is not edited, the device admin email will be used. If enabled and the Sender email is edited, the specified email is used.
-
Sender email: see above.
Editing a Printer Configuration
Click on a configuration to open its info panel, use the Edit (pencil) icon to edit its settings, and the Delete (trash) icon to delete it.