
PrintSharing allows you to offer printing services to users across multiple devices.
To set up PrintSharing, you can add printers individually or organize them into groups. Using printer groups is optional, but recommended – groups let you apply shared pricing and configuration settings, making it easier to manage your fleet, especially at scale. You can add new devices, remove existing ones, or adjust settings without any service interruption.
Create a PrintSharing Printer Group
A printer group gives you the most flexibility when you need to add or remove devices from your PrintSharing pool.
-
Go to Roger > Printer Groups.
-
Click +Add printer group, or select an existing group to modify.
-
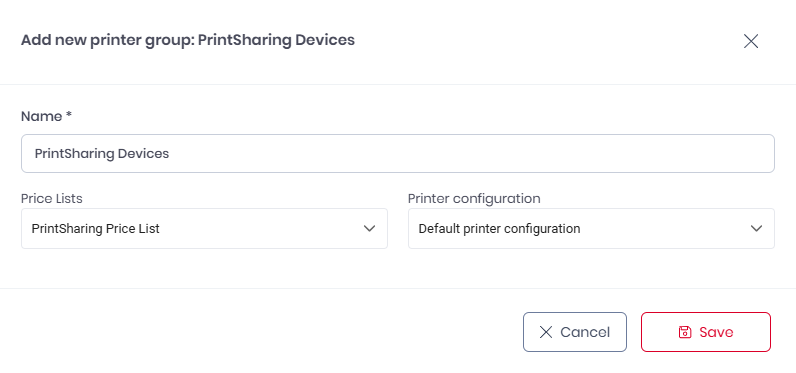
Give the printer group a name.
-
Select a Price List and Printer configuration to apply to the group.
-
Click Save.
Add a Printer to PrintSharing
-
Go to Roger > Printer Groups, and select the group that you want to modify.
-
Click +Add printer.
-
From the list of available printers, select the printer that you want to add, and click Save.
The printer is added to your group.
Remove a Printer from PrintSharing
You can remove a printer from your pool of PrintSharing devices without disabling the entire service.
-
Go to Roger > Printer Groups, and select the group that you want to modify.
-
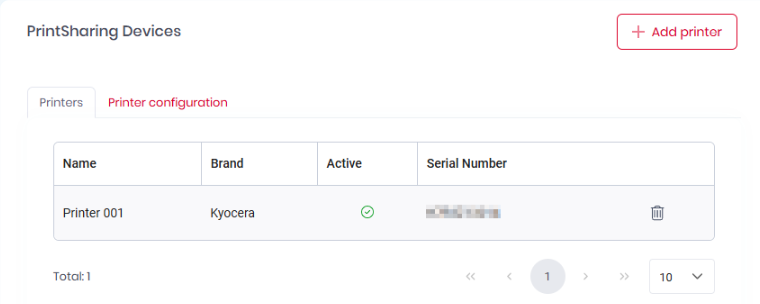
Select the Printers tab.
-
In the table of printers, identify the printer that you want to remove.
-
At the right side of the row, click the delete icon. Accept the confirmation dialog.
The printer is removed from your group.
More Information