
Use the Import feature to add multiple users to your tenant at once from a CSV or Excel file.
Before you Start
-
Prepare your user data in a CSV or Excel file.
-
Make sure your file includes a header row and matches the column order in the provided examples.
Notes
-
You can download and customize a sample Excel import file from the Import / Export option. For a sample CSV file, see below.
-
Users imported from a file can sign in only with their MyQ Roger credentials. External authentication methods (for example, Microsoft or Google sign-in) are not supported for imported users.
Import Users
-
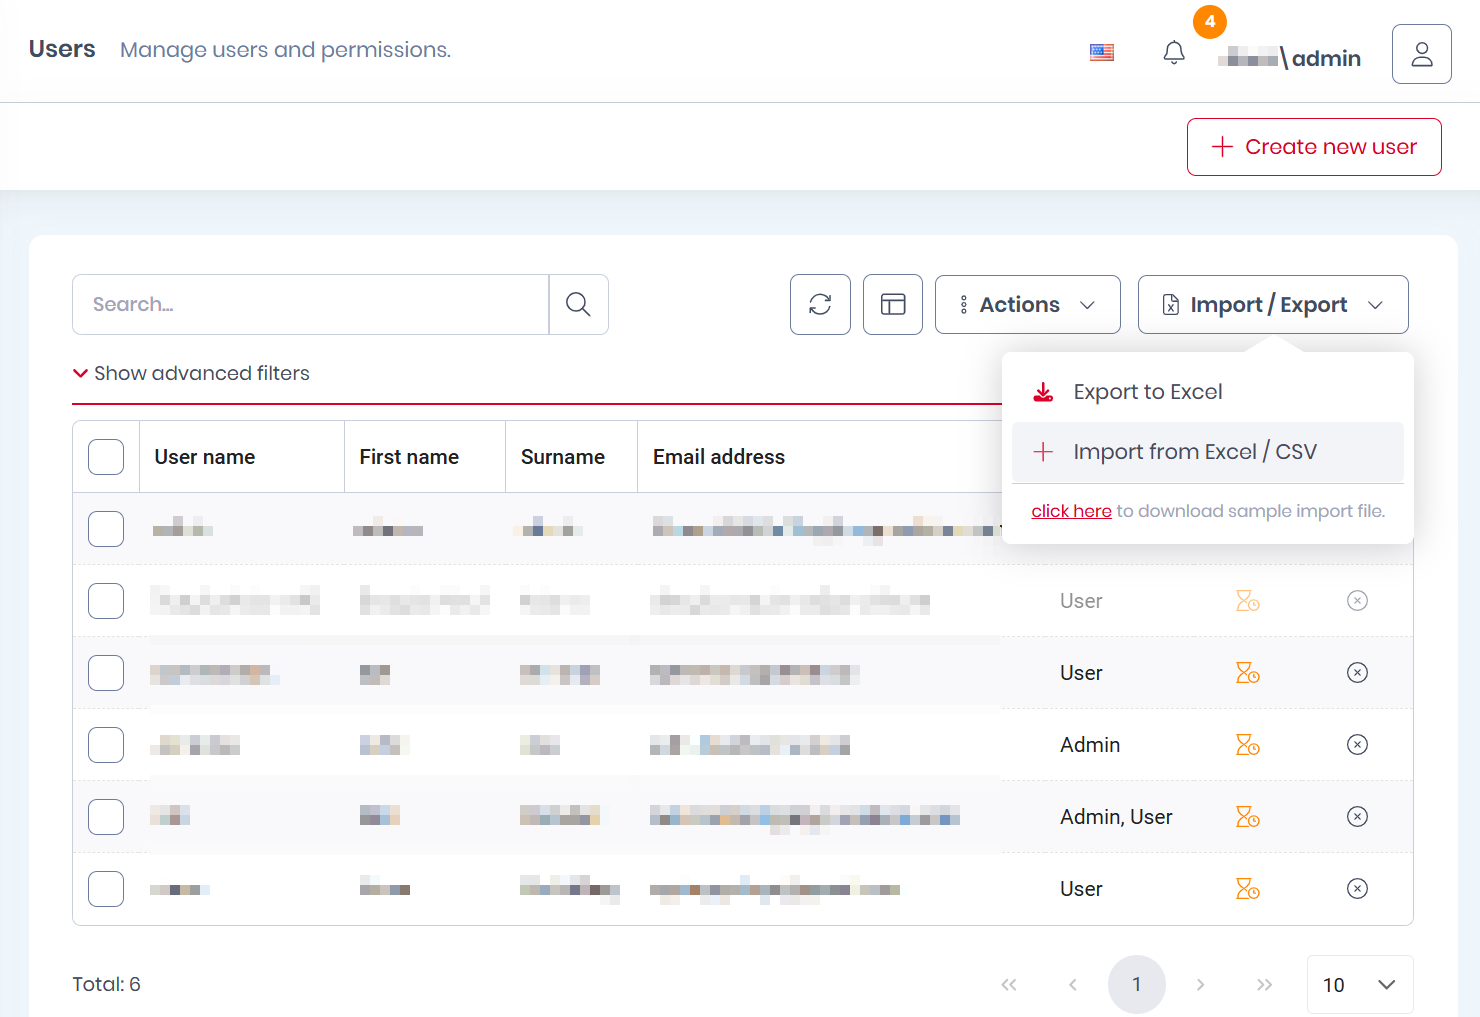
Go to Roger > Users.
-
Click Import / Export.
-
Select a CSV or Excel file to start the import.
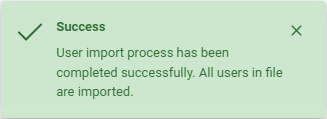
The import runs as a background job. When it finishes, the UI shows a success message.
File Requirements
The following file types are supported:
-
CSV
-
Excel
Limits
-
Maximum import file size: 100 MB
Note the following:
-
CSV must be comma-delimited.
-
Both CSV and Excel imports require a header row.
-
Header names can be renamed (for example, localized).
-
Column order must not change, even if you rename the header labels.
CSV Example
UserName,Name,Surname,Email Address,Phone Number,Roles,Cards,Aliases,IsActive,PIN,Password,SendActivationEmail,IncludePINToActivationEmail,User Groups
johndoe,John,Doe,johndoe@example.com,720100200,"Admin,User","123456789,987654321",doejohn,TRUE,1234,badpassword,FALSE,FALSE,"OrgUnitName,Marketing"
Supported Fields
|
Field |
CSV
|
Excel
|
Required |
Comment |
|---|---|---|---|---|
|
UserName |
0 |
A |
Yes |
String |
|
Name |
1 |
B |
Yes |
String |
|
Surname |
2 |
C |
Yes |
String |
|
Email Address |
3 |
D |
Yes |
String |
|
Phone Number |
4 |
E |
No |
String |
|
Roles |
5 |
F |
No |
Comma-separated list |
|
Cards |
6 |
G |
No |
Comma-separated list |
|
Aliases |
7 |
H |
No |
Comma-separated list |
|
IsActive |
8 |
I |
No |
TRUE/FALSE
|
|
PIN |
9 |
J |
* |
number
|
|
Password |
10 |
K |
No |
String
|
|
SendActivationEmail |
11 |
L |
No |
TRUE/FALSE
|
|
IncludePINToActivationEmail |
12 |
M |
No |
TRUE/FALSE
|
|
User Groups |
13 |
N |
No |
Comma-separated list |
If you are using MS Office in a language other than English, the values TRUE and FALSE needed in the SendActivationEmail and IncludePINToActivationEmail fields have to be translated in your MS Office language. For example, if your MS Office is in German, add WAHR or FALSCH instead of TRUE or FALSE.