Editing Users
The names and other attributes of users synchronized from an external source cannot be edited. It is not possible to delete imported users, user groups, and cost centers.
Go to Organization>Users. On the Users overview, click on a user to see their information.
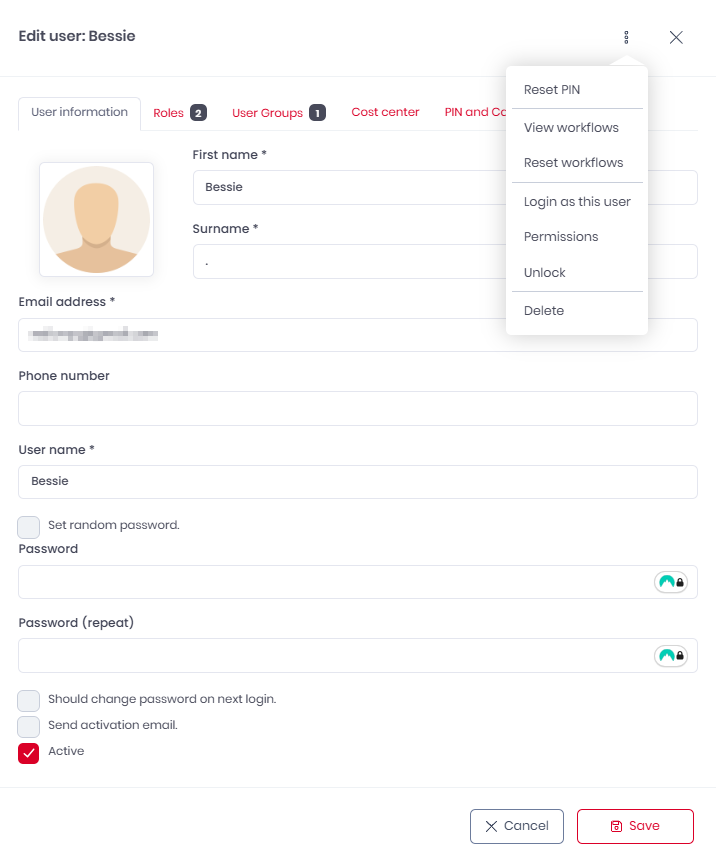
Here you can edit the users basic info or use the three-dot menu to:
Reset their PIN.
View their workflows.
Reset their workflows.
Login as that user.
View their Permissions.
Unlock the user.
Delete the user.
In the PIN and Cards tab, under to PIN, click Reset PIN to reset the user’s PIN. The reset is immediately done. In the Cards field, insert the card numbers, separated by comma (,), and click Add Cards.
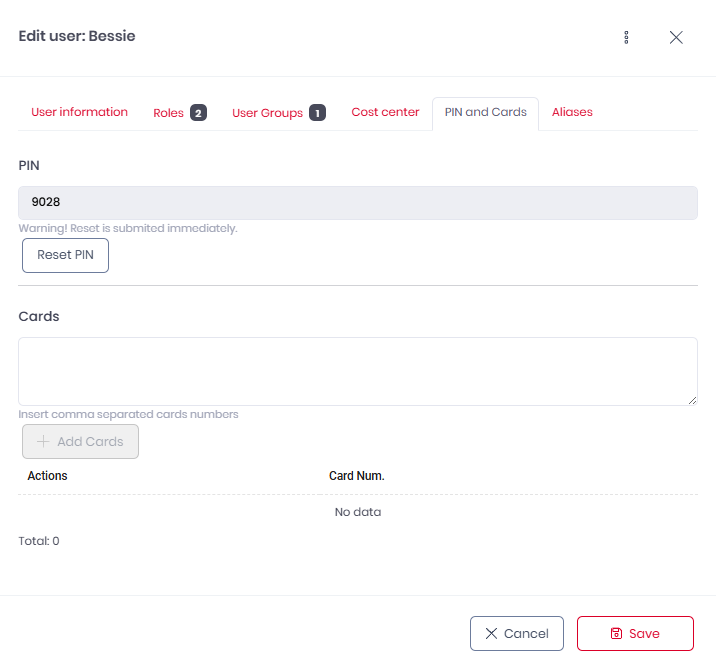
Click Save to save your changes. If the Send activation email setting is enabled, an email is sent to the user once you save their account’s changes.
If a user with the administrator role has lost or not received their password, there are two ways to resolve this:
A different user with the administrator role or administrator rights can edit the user with the lost password. In the User Information tab, they should select the Set random password and the Send activation email options and click Save.
The user should receive a new activation email and password.If there is no other user with the administrator role or administrator rights, contact MyQ Support.
To check/modify the user’s permissions,
Click Permissions.
There are multiple permissions that can be assigned to user accounts. Most of them may be assigned by default, depending on your MyQ Roger tenant setup.Check the box next to a parameter to give the permission to a user or uncheck it to remove the permission. Once done, click Save.
To unlock a user, click Unlock.
If the user’s account is locked after multiple failed login attempts, you can unlock it from here.
To reset a user’s PIN, click Reset PIN.
You can also use advanced filters to reset the PINs for multiple users or user groups.
Click Show advanced filters. Add the user groups you want in the Filter by Group field.
Optionally, Filter by role, by selecting admin or user or Search by Card.
You can also mark the Only locked users checkbox to reset PINs only to locked out users, and mark the Only users managed by AD synchronization checkbox to reset PINs only to users imported via AD synchronization.
Click Actions and Reset PINs.
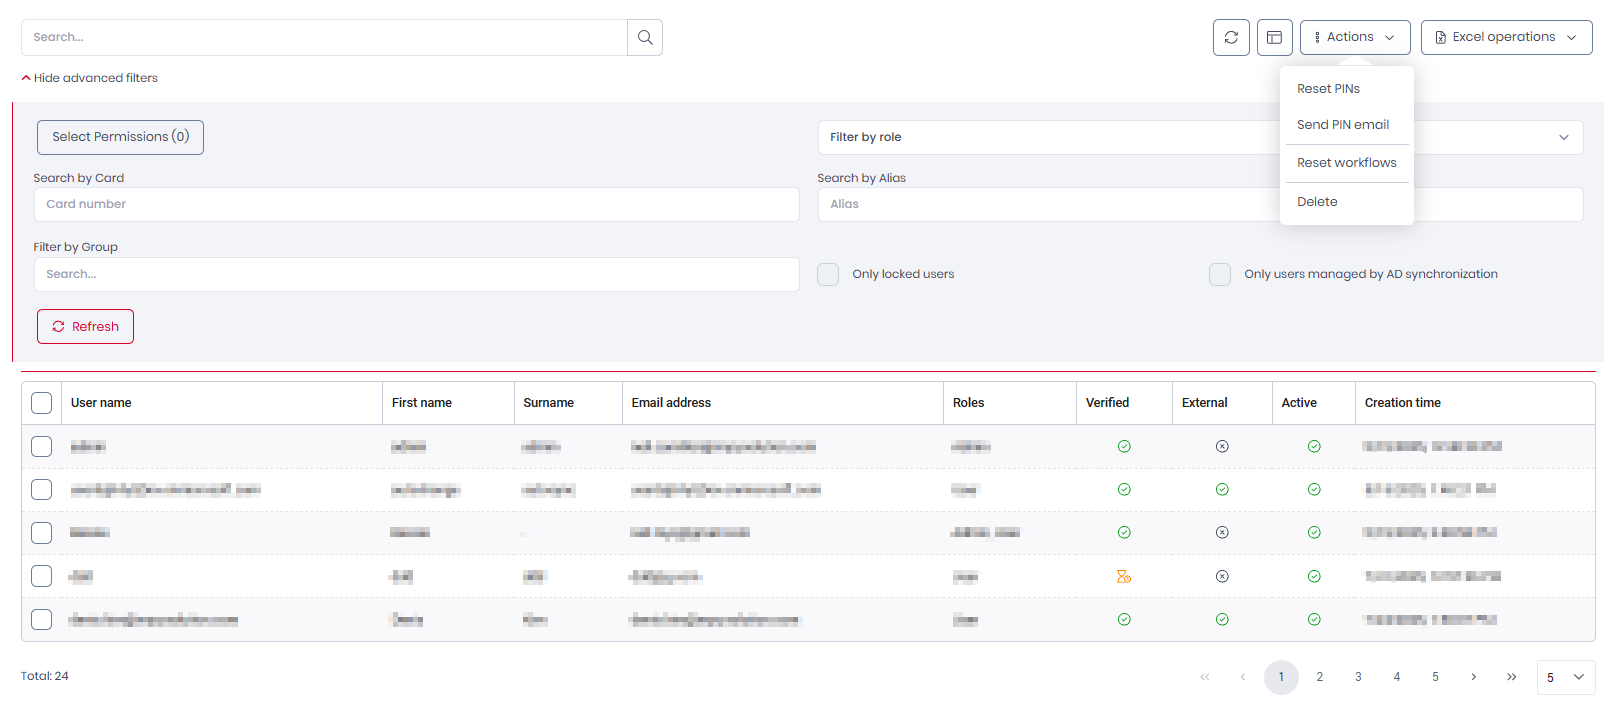
If you have filtered by group, only the users in this group will get their PINs reset.
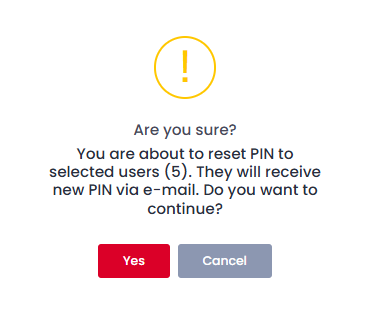
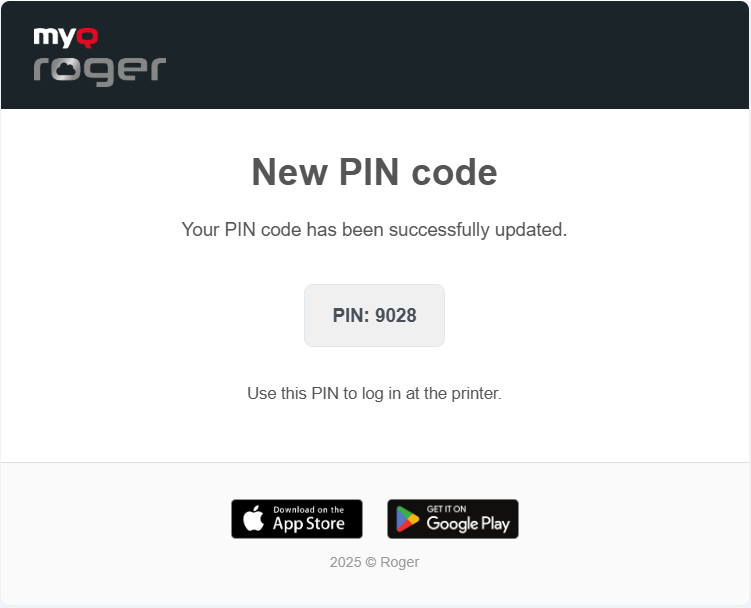
The PINs are reset instantly, and the users receive an email with their new PIN.
To delete a user, click Delete.
To view workflows this user can work with, click View workflows.
To reset the workflows this user can work with, click Reset workflows.
