Installation on Kyocera MFDs
The MyQ Roger app can be installed on Kyocera Multi-Function Devices (MFDs) as a standard application. It is done via uploading the installation file from a USB flash drive and installing the application on the device’s system menu.
Saving Installation File to USB
Save the installation file (KyoEmbedded_2023.xx.xx.x_Roger_EU.pkg for the EU region or KyoEmbedded_2023.xx.xx.x_Roger_US.pkg for the US region) to the root directory of a USB Flash drive.
Installing on the MFD
On the device operation panel, press the System Menu button (or System Menu/Counter button on some devices).
The System Menu opens.On the System Menu, find and tap Application (Favorites/Application on some devices).
You are prompted to log in as an administrator.Log in as the administrator.
The Application menu (or Favorites/Application menu) opens.
If there is a card reader connected to the device and activated, you are asked to use your ID card.In such cases, tap Menu at the bottom-left corner of the screen, and then tap keyboard login.
If the Menu button is not displayed, press the System Menu button (or System Menu/Counter) on the device operation panel; the terminal screen refreshes with the button displayed.
In case you are asked to select between the Local login and the Network login, select Local before entering the credentials.
On the Application menu (or Favorites/Application menu), tap Application.
The Application sub-menu opens.Insert the USB Flash drive with the uploaded installation file, and then tap the plus sign (+) (or Add on some devices) at the upper-right corner of the screen.
A dialog box appears, informing about the number of applications that can be installed.Tap OK.
The Add-Application menu opens with the MyQ Roger item displayed.Select the MyQ Roger item, tap Install at the bottom-left corner of the screen, and then tap Yes to confirm the installation.
The Completed message appears and the Add - Application menu is empty.Back on the Add - Application menu, tap End.
Installation Using KYOCERA Net Viewer
Can be downloaded from the official US support page. Default settings for install and express search for devices should work out of the box.
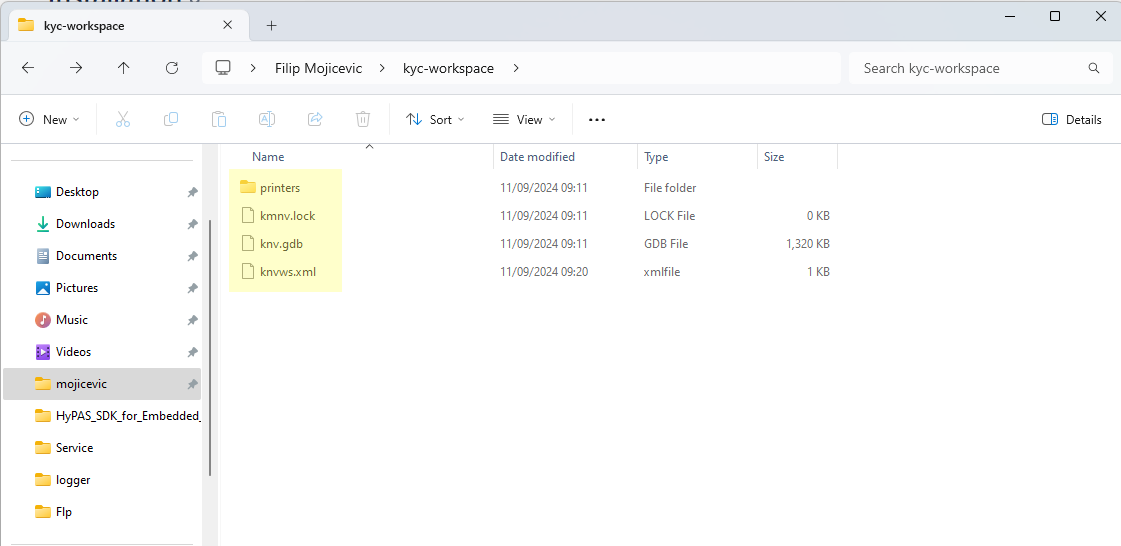
It is possible that after first search (whether or not it is successful) each subsequent search does not return the expected results. A workaround is to delete the content of the workspace folder and restart the Viewer.
Connect printer by IP and load Roger app to the Terminal
Open Kyocera NET Viewer and select Add Device.
Choose the Custom > By IP address.
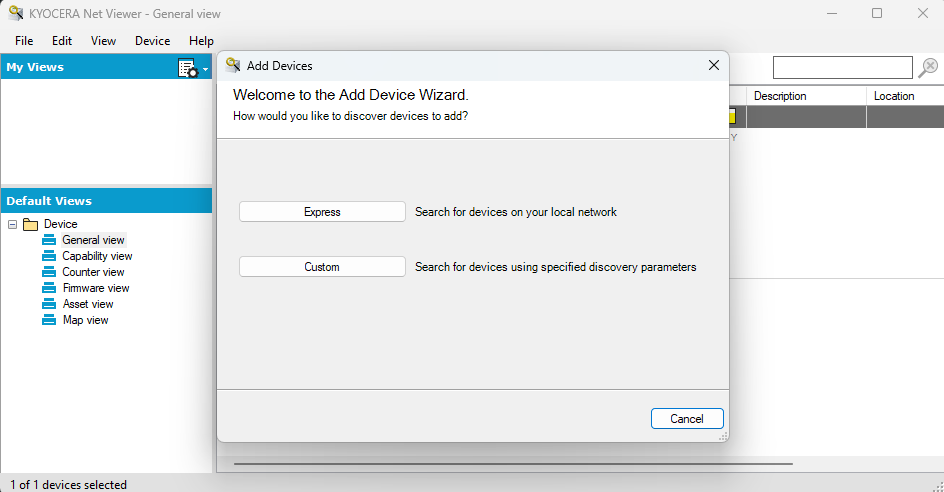
Enter the device IP address and finish adding the device.
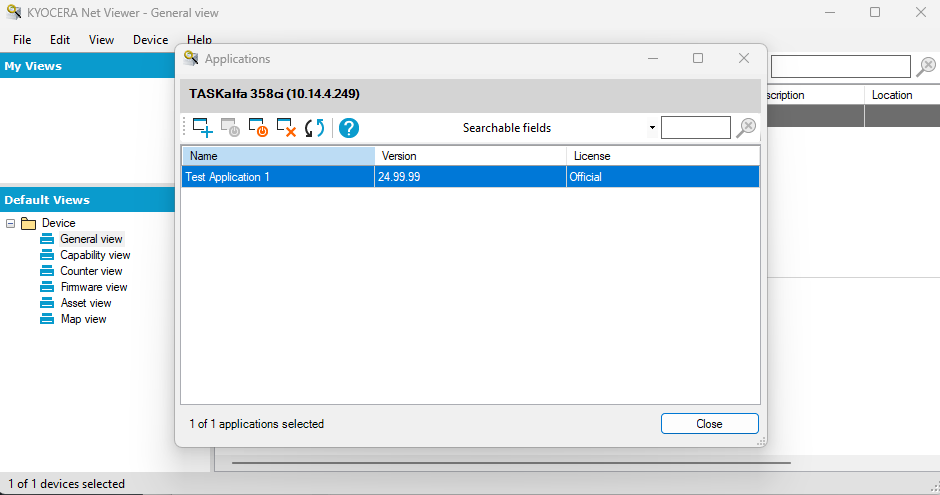
In the “Device” menu, choose “Applications” and activate the application using the License code.