
User groups are used to allocate users into organizational units. User groups can be imported via AD User synchronization or created on the MyQ Roger server Web UI by the administrator or a user with sufficient permissions.
All users are automatically members of the built-in All users in Roger user group. When a tenant is created, this group is created as well by default. All later added users are inserted by default, including users from user synchronization.
This group cannot be edited or deleted. The main purpose of this group is to be able to assign roles to all users at once.
User groups can be also used to filter users in the Users page via advanced filters and carry out actions onto these user groups such as reset PINs, send PINs via email, and reset workflows.
Creating User Groups
-
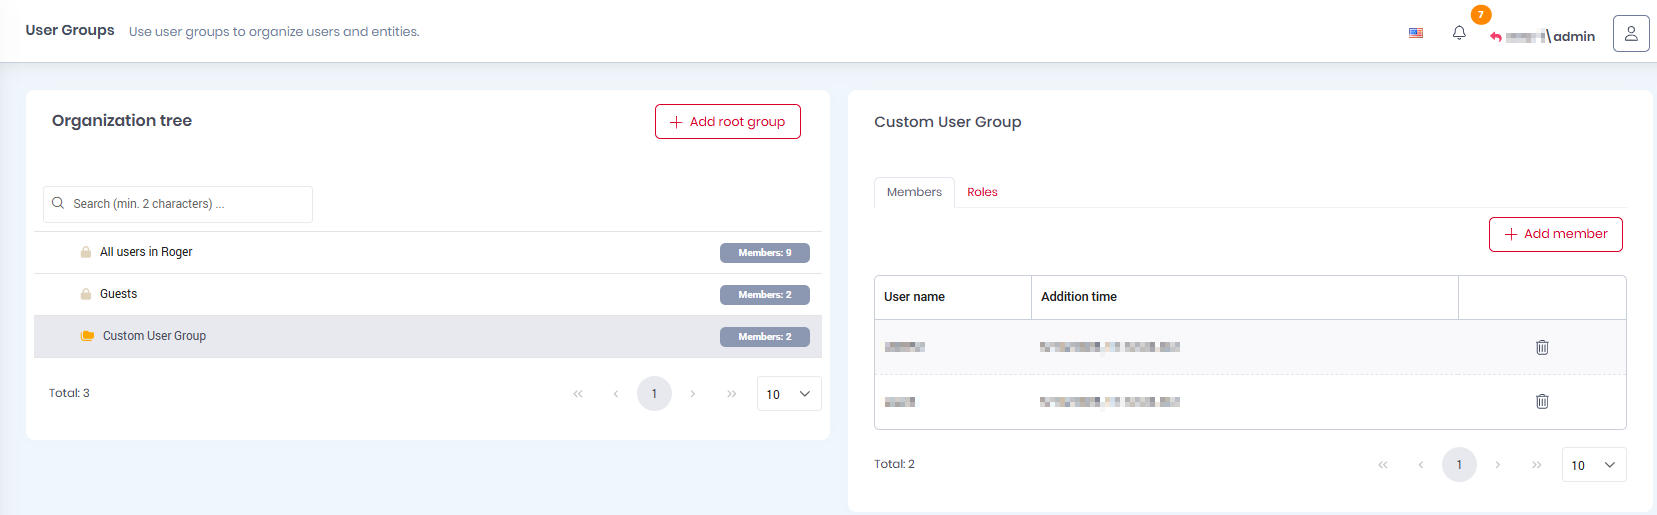
On the left-side menu options, go to Organization>User Groups.
-
Click Add root group to create a new user group.
-
In the pop-up window, give a Name to your user group and click Save.
You can now add members to it. -
Select the new user group and click Add member on the right side.
-
Select the users from the list and click Save.
You can also add roles to the user group. -
Select the new user group, click on the Roles tab on the right side, and click Add role.
-
Choose the role you want to add from the list and click Save.
User Group Options
To display the available user group options:
-
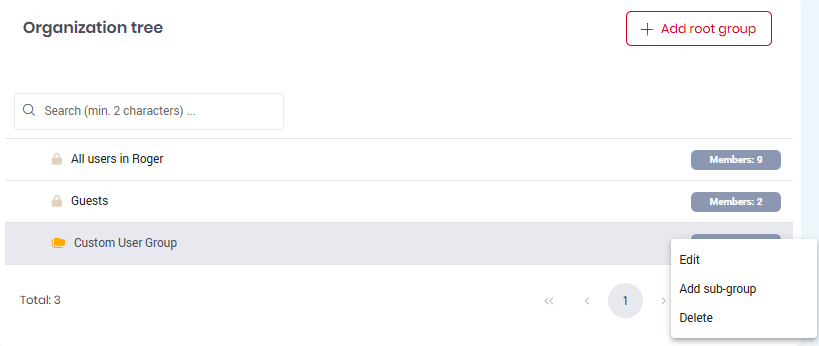
Hover over a user group and then click on the three-dot menu on the right side of the user group.
-
Edit - Used to modify your user group’s name.
-
Add sub-group - Used to add a sub-group to the user group.
-
Delete - Used to delete the selected user group.
-