
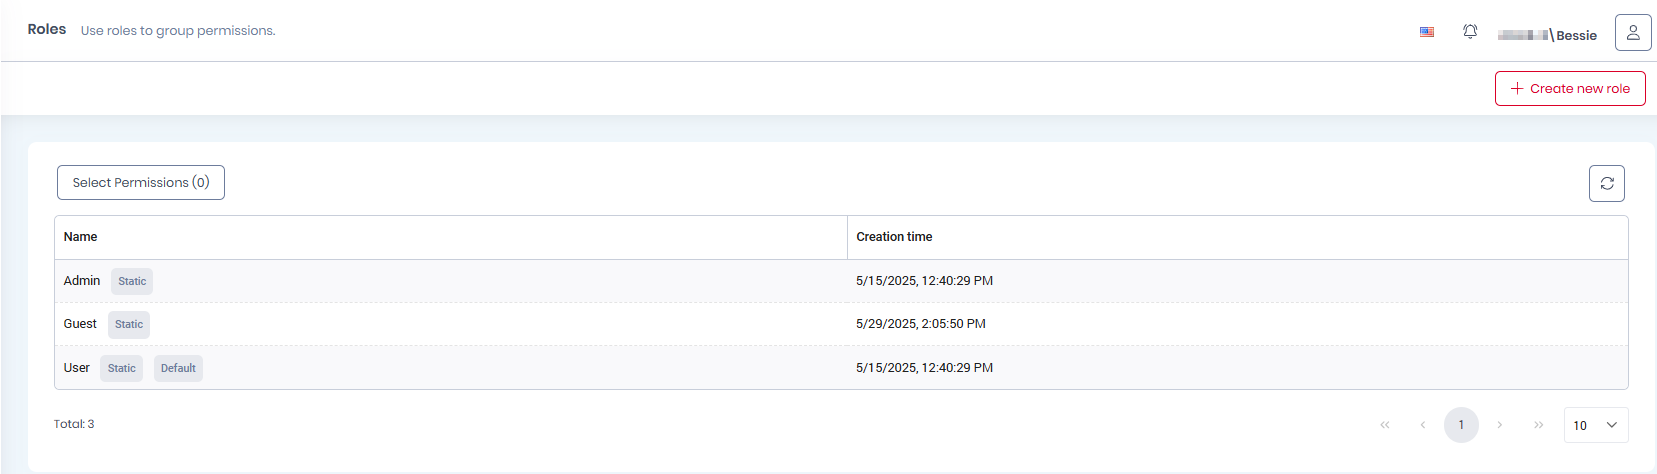
In Organization > Roles, the MyQ Roger administrator can manage roles as a way to group user permissions.
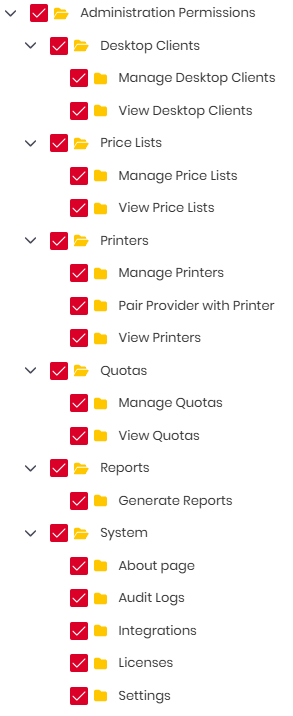
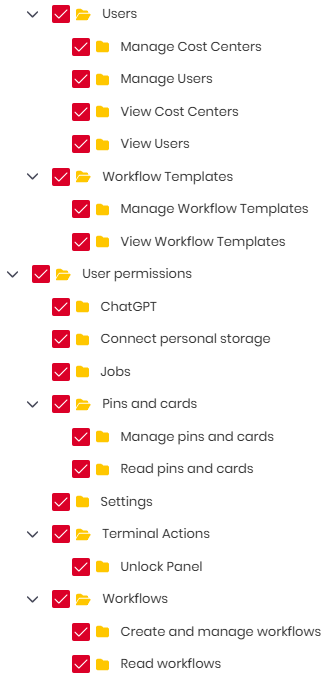
When a new tenant is created, there are two default roles: the Admin role which has all the permissions enabled, and the User role which contains only the following default user permissions:
All users are assigned the User role, unless a different role is chosen for them in their Edit user panel.

Creating a New Role
To create a new role,
-
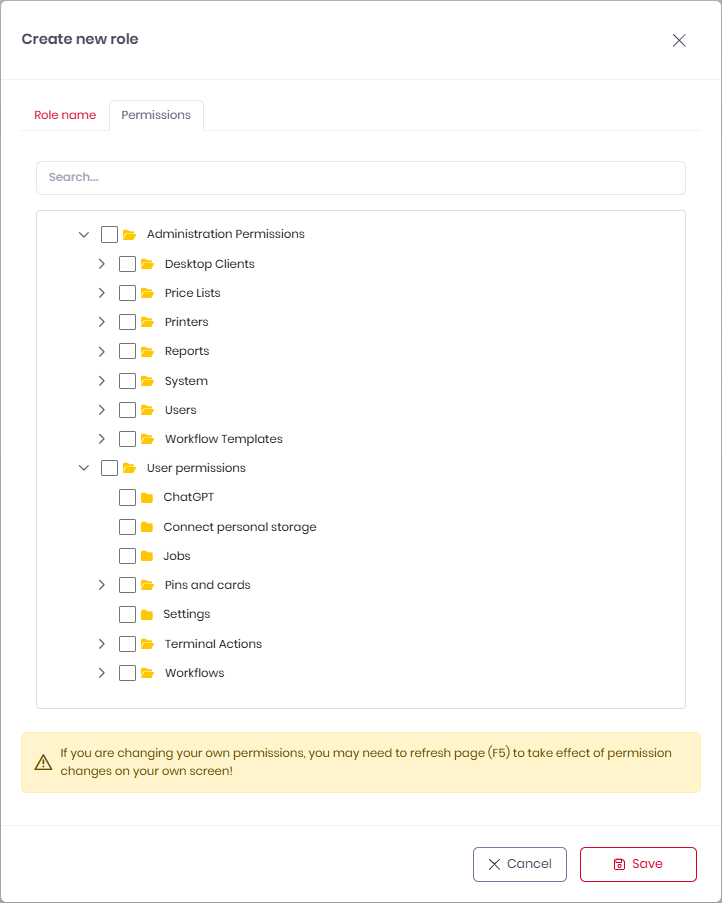
Click the Create new role button in the upper-right corner.
In the pop-up window, in the Role name tab,
-
Add a Role name * for your new role.
If you want this role to be the default one for newly created users,
-
Mark the Default checkbox.

-
In the Permissions tab, select the permissions to be included in the new role.
-
Click Save and then refresh your browser to apply your changes.
Roles Management
-
To filter the roles overview list,
-
Click the Select Permissions button.
In the pop-up window,
-
Select the permissions you want and click Save.
Only roles with the selected permission will be displayed on the list.
-
To edit a role, click on it.
You can then change the role name and the permissions it includes. -
To delete a role, use the trashcan icon.