Using MyQ Roger via the MFD
After the connection between MyQ Roger, the MFD, and your smartphone is established, you can immediately use MyQ Roger, either via your smartphone (recommended), or via the MFD panel.
Log in
Depending on the administrator’s setup, there are multiple login options available on the device panel:
Username and password - Type your MyQ Roger username and password.
Username and PIN - Type your MyQ Roger username and PIN.
ID Card - Swipe your ID Card.
PIN - Type your MyQ Roger PIN.
QR code - Scan the QR code with your smartphone via the MyQ Roger mobile app (recommended).
NFC tag - Move your phone close to the MFD so it can read the tag. (The NFC has to be previously paired by the administrator for this option to be available.)
Bluetooth - Choose the printer from the list or select Discover printers via Bluetooth and scan the QR code to pair it and log in.
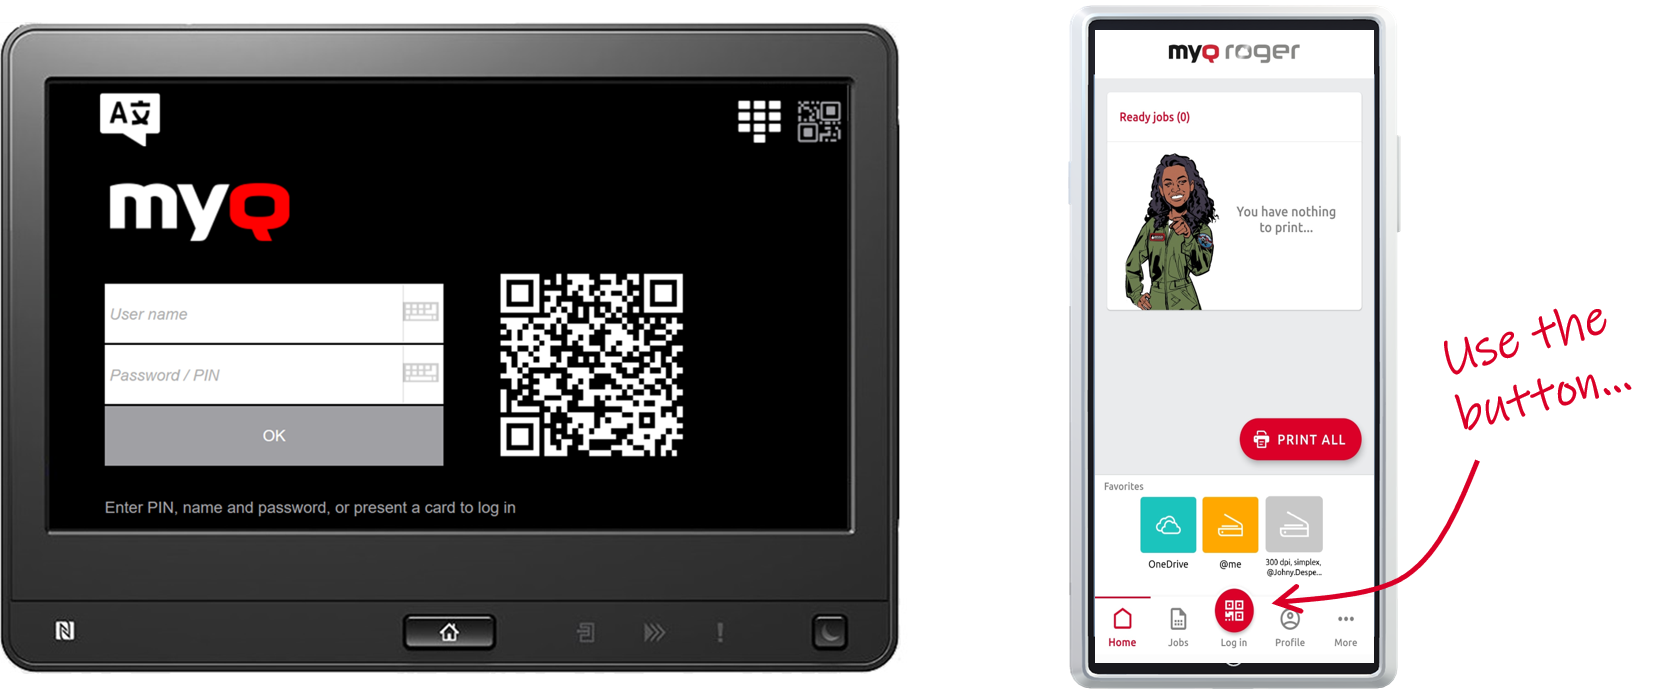
In Workpath devices, if you log in by scanning the QR with your smartphone, you can manage everything via the MyQ Roger app. You cannot use the device panel unless you pass the control to the printer, via the button on the top-right corner in the MyQ Roger mobile app Home tab. If you use a different login method, you can manage everything directly from the MFD.
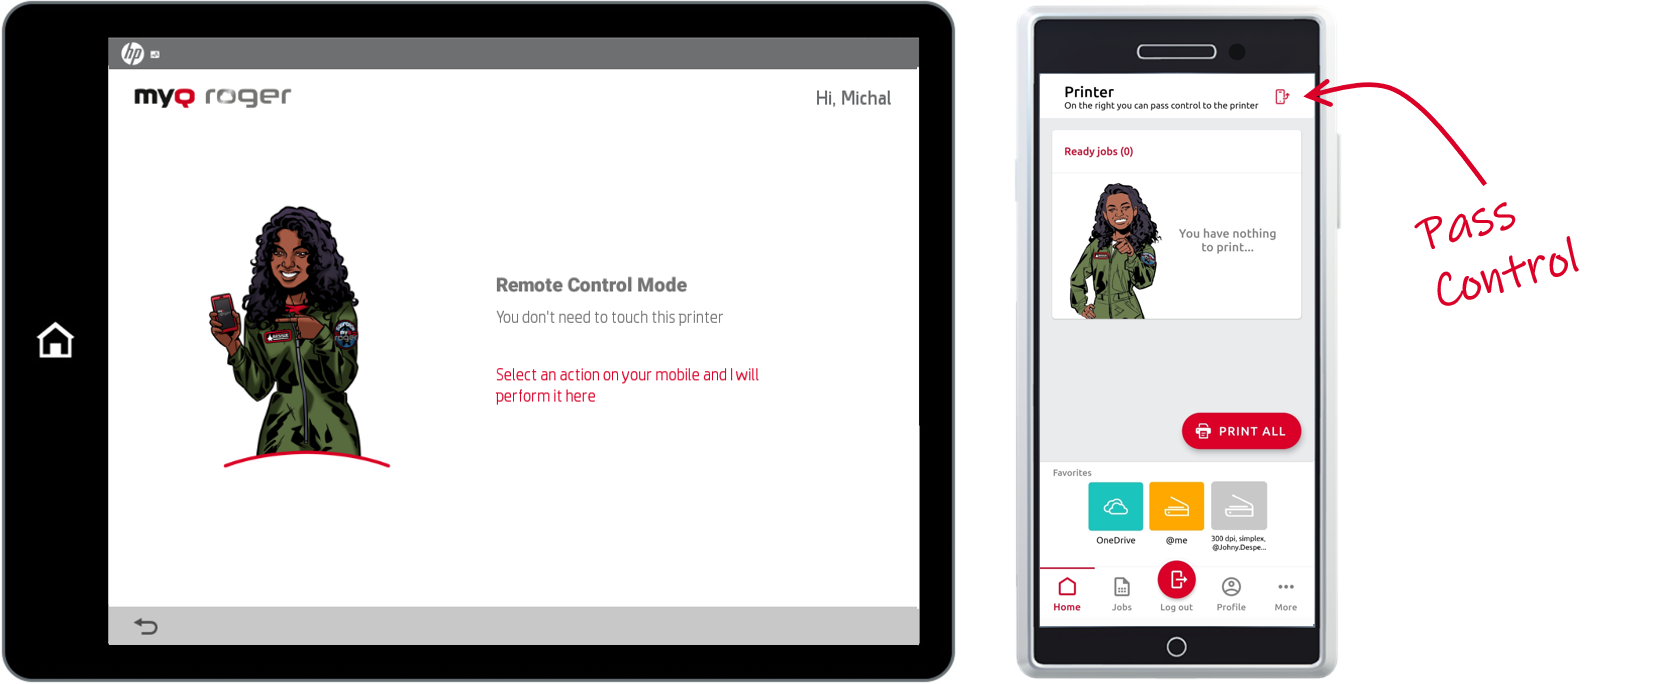
MyQ Roger Available Actions
Depending on your MyQ Roger tenant settings, the administrator’s setup, and the MFD’s brand, the available actions on the MFD are:
Print All - this action prints all jobs that are waiting in the queue in the Ready and Paused states.
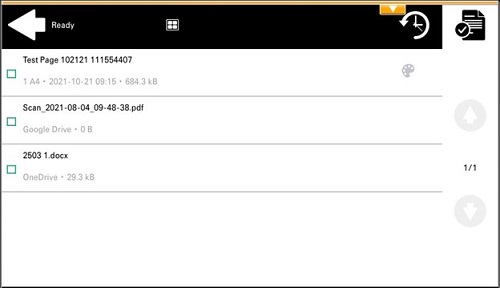
Ready to print - This action shows all the jobs that are in the ready state. Select a job or multiple jobs and swipe from left to right to print it or swipe all the way for printing options.
OneDrive - This action shows all the jobs that can be printed, and stored on OneDrive. Select a job and swipe from left to right to print it or just tap on the job to edit the job options. There is also the Scan here feature, that scans your documents and saves the scans to OneDrive.
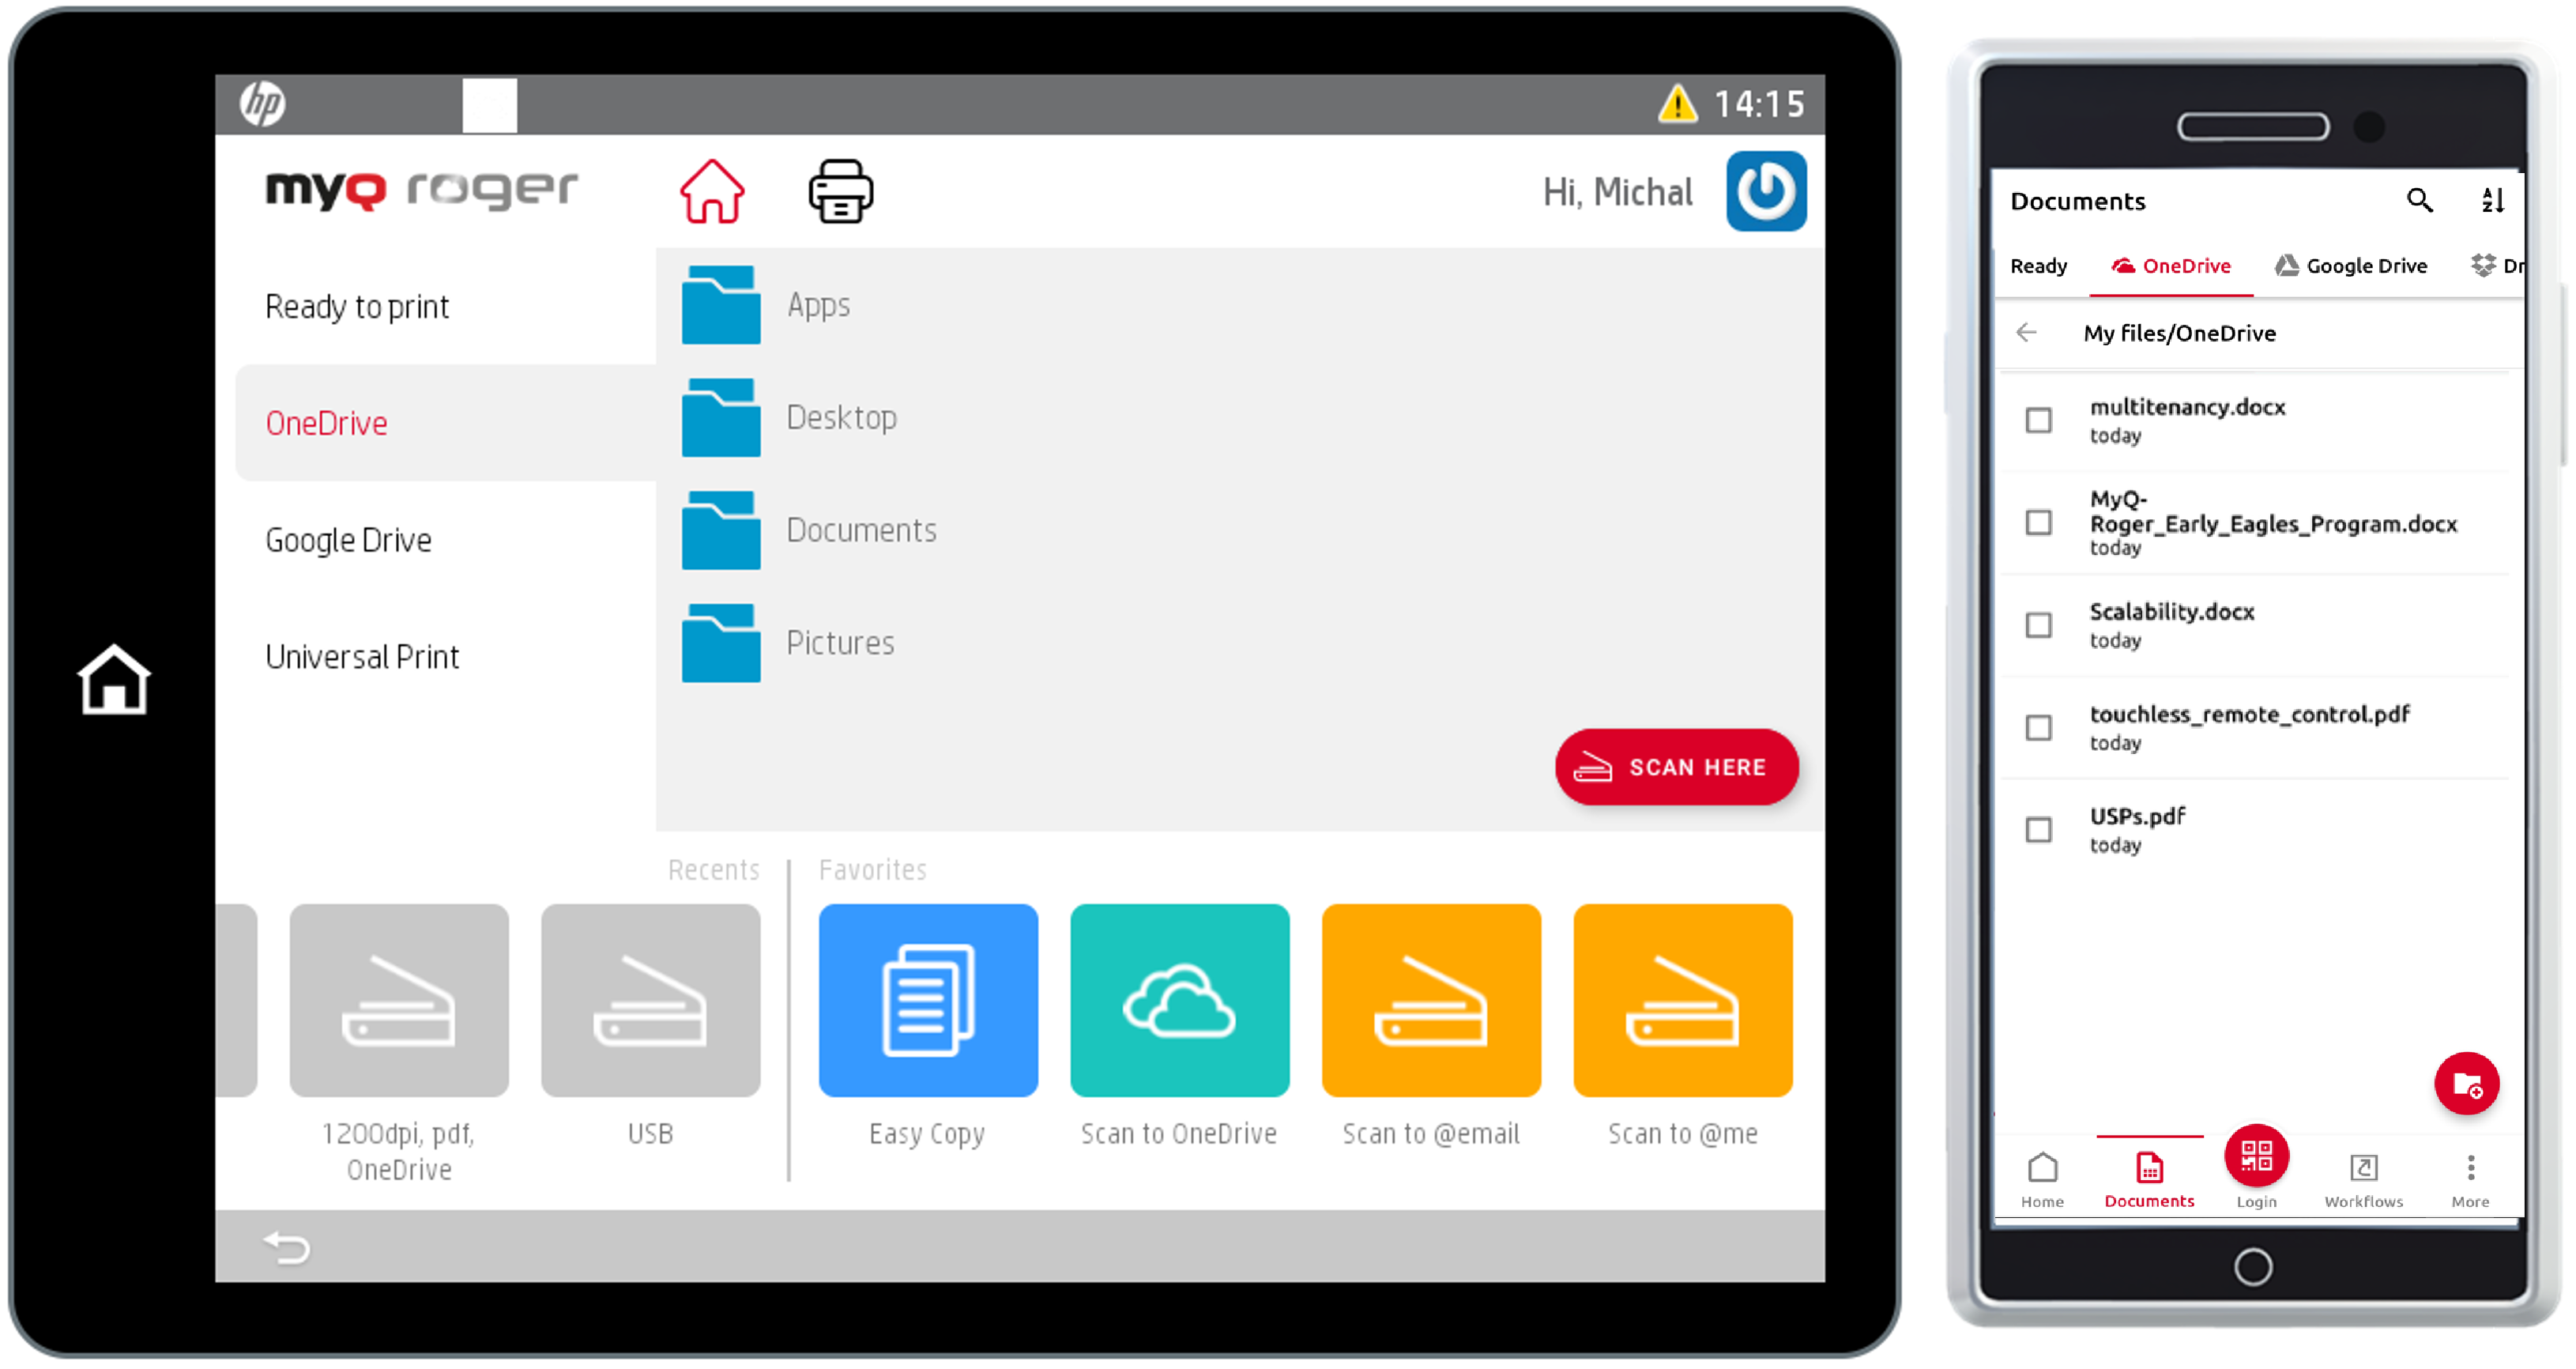
Google Drive - This action shows all the jobs that can be printed, and stored on Google Drive. Select a job and swipe from left to right to print it or just tap on the job to edit the job options. There is also the Scan here feature, that scans your documents and saves the scans to Google Drive.
Universal Print - This action shows all the jobs that can be printed from Universal Print.
My Jobs - this action shows all the jobs that can be printed. You can select the jobs and print them. Information about the jobs is also displayed (if the job is local or from cloud storage). Jobs from cloud storage have to be spooled to the server via the MyQ Roger mobile application.
Recent Scans - this action contains a folder with the settings from the last used scan profiles. It is not available when no scan profiles have been used. The folder is updated after logout.
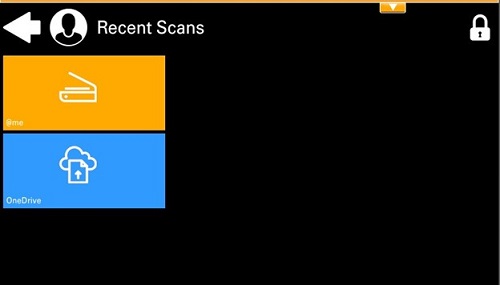
Scan to @me - scan to your email address.
Scan to @email - scan to an email address.
Scan to OneDrive (OneDrive has to be connected to your tenant) - scan to OneDrive.
Scan to GoogleDrive (Google Drive has to be connected to your tenant - scan to Google Drive.
Scan to SharePoint - (SharePoint requires a paid license and has to be connected to your tenant) - scan to SharePoint.
Easy Copy - after you tap this action, the page is immediately copied.
Panel Copy - use the device’s Panel Copy action.
Panel Scan - use the device’s Panel Scan action.
Panel USB - use the device’s Panel USB action.
ID Card Registration - register an ID card.
Print from USB (if supported by the device) - print from a USB connected to the MFD.
Add new - Add a new scan profile.
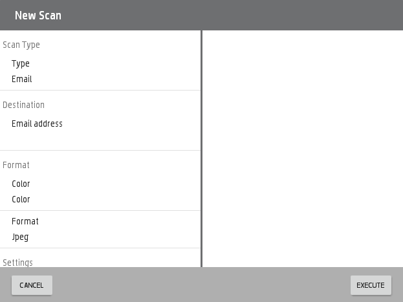
Most of the above actions (unless panel-specific) are available in the MyQ Roger mobile app and it is recommended to use them from the app.
