
Configuration
Print Driver Configuration
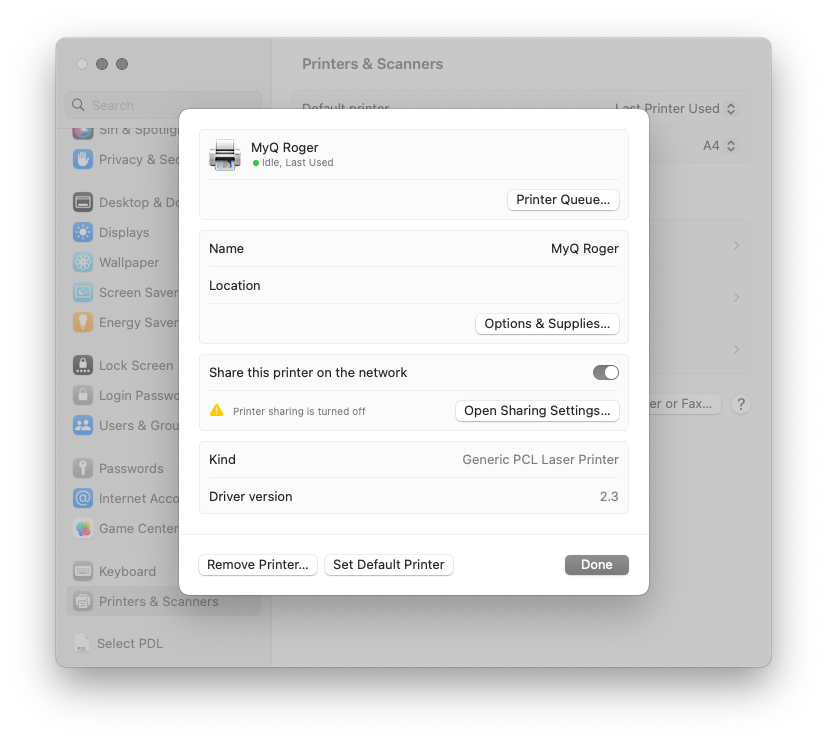
During the MyQ Roger Client installation a printer is created with all the settings needed to release jobs. This printer is called MyQ Roger, and all jobs can be sent to this printer in order for them to be released via MyQ Roger Client.
MyQ Roger Server Configuration
The MyQ Roger administrator should log in to https://eu.roger.myq.cloud/ for the EU region or https://us.roger.myq.cloud/ for the US region and assign roles for MyQ Roger Client both to the administrator and the users (or any other roles).
Go to Organization-Roles.
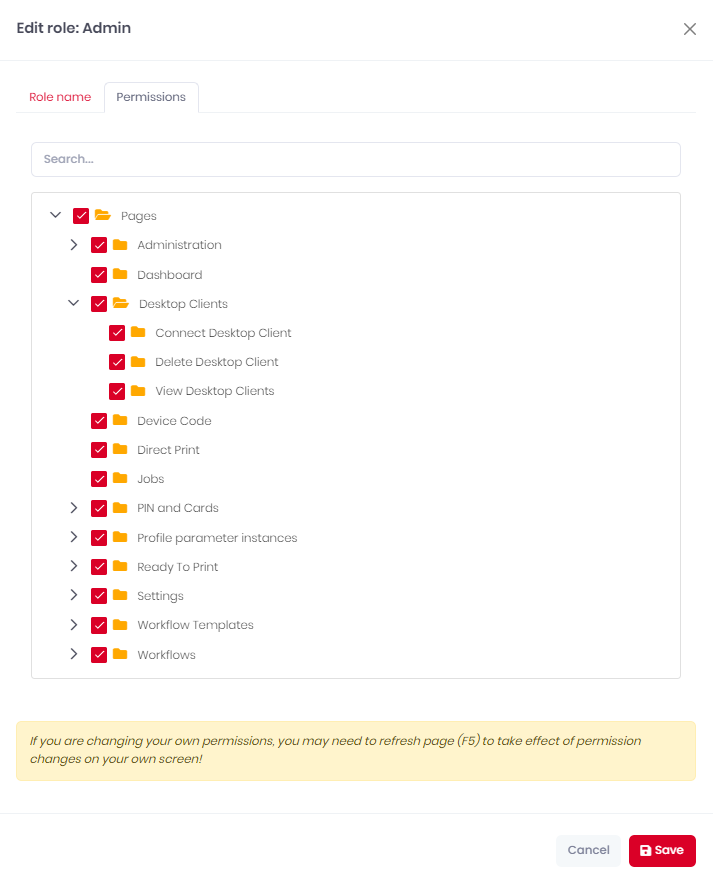
Click Actions next to the Admin role, and then click Edit.
In the pop-up window, go to the Permissions tab, enable the Desktop Clients (Connect, Delete and View) permissions, and click Save.
Repeat the same process for the User role and any other roles that will be using MyQ Roger Client.
Communication Information
Target | Protocol, Port | Description |
|---|---|---|
MyQ Roger Server | HTTPS, 433 | TLS secured |
|
Event Bus | AMQP, 5671 | TLS secured |
|
Printer | SNMP, 161,162 |
|
Printer | RAW print, 9100 | unsecured |
|
SNMP Settings
MyQ Roger Client, supports both SNMPv2 and SNMPv3.
If you want to use SNMPv3, you have to properly define the settings in both the device and your tenant (MyQ Roger Server UI - Device Settings - SNMP - SNMP version).
Or you can set the SNMP to version 2 on your tenant with no further setup and release jobs easily.
If the settings are incorrect, MRC will not be able to find the printers and release jobs.