
MyQ Roger Mobile Application Setup
The MyQ Roger mobile application can be used both on iOS and Android devices, including Chromebook devices, and it is available for free download in the App Store and in Google Play.
After the download and installation of the app, tap the MyQ Roger app icon to open it.
Go through the mini welcome guide, and then choose the account you want to use from the WORK ACCOUNT or the PERSONAL ACCOUNT options.
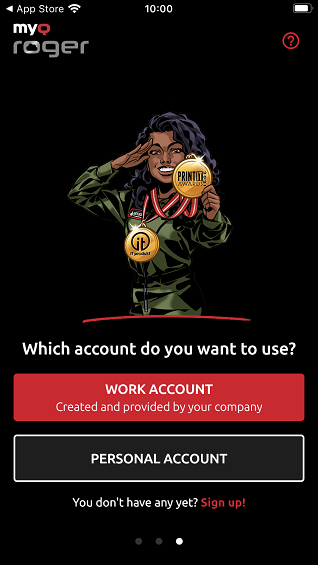
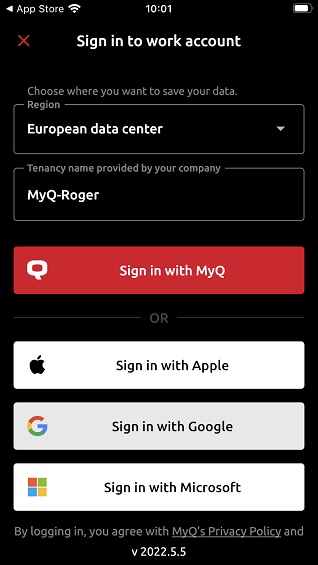
By choosing WORK ACCOUNT, you can log in to the MyQ Roger tenant created and provided by your company, with multiple sign in options.
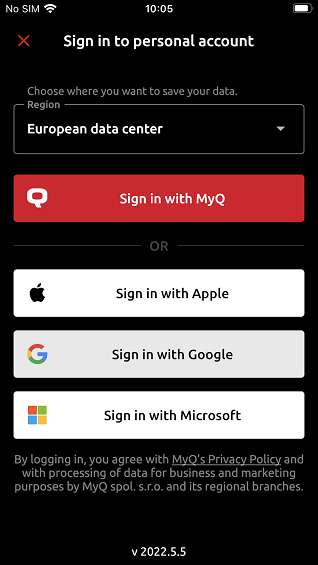
In the Region field, choose where you want your data to be saved: European data center or American data center.
In the Tenancy name field, type the name of your tenant. Then choose one of the available sign in options:
Sign in with MyQ - Type your MyQ Roger credentials and tap SIGN IN.
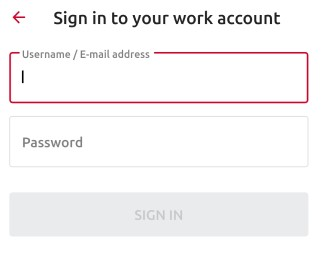
Username / E-mail address - Your MyQ Roger user name or email address.
Password - your MyQ Roger password.
Sign in with Apple - You are redirected to log in to your Apple account.
Sign in with Google - You are redirected to log in to your Google account.
Sign in with Microsoft - You are redirected to log in to your Microsoft account.
By choosing PERSONAL ACCOUNT, you can use a personal MyQ, Apple, Google or Microsoft account to use the app.
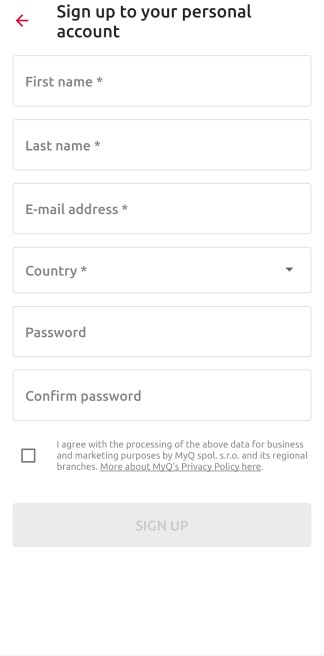
If you don’t have an account related to MyQ Roger, you can tap Sign up! and create a new personal account either in MyQ, Apple, Google or Microsoft.
Fill in the mandatory fields, First name, Last name, E-mail address, Country, Password, and Confirm password, mark that you agree with MyQ Roger processing your data and tap SIGN UP.
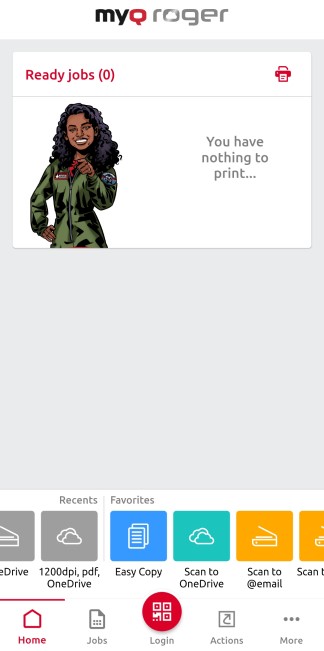
Once logged in to the app, simply use the Login button at the bottom-center of the screen to scan the QR code displayed on the MFD.
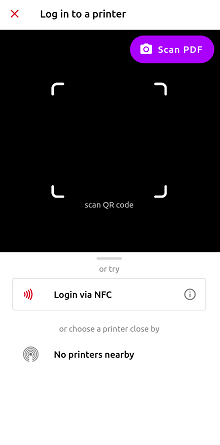
You can also log in via NFC, if the device has already been paired by the administrator and if the NFC is supported by your phone.
Tap the Login button and select Login via NFC. Move your phone close to the NFC tag on the MFD. Once your phone reads the tag, you are logged in to the MFD.
Only an administrator can pair an NFC tag to an MFD. Tap the Login button and then tap the information button ![]() next to the Login via NFC option. Tap Pair new tag. Bring the phone close to the printer and tap Write to NFC tag. Once done, scan the QR code on the printer to finish the device pairing.
next to the Login via NFC option. Tap Pair new tag. Bring the phone close to the printer and tap Write to NFC tag. Once done, scan the QR code on the printer to finish the device pairing.
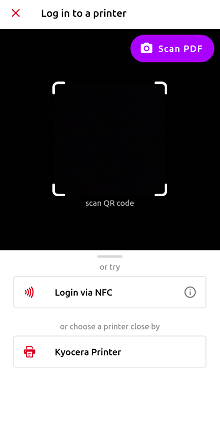
Another option is to log in to an MFD paired via Bluetooth.
Tap the Login button and select one of the paired printers from the list. If there are no printers on the list, select Discover printers via Bluetooth. Once an unknown device appears on the list, tap on it and scan the QR code to pair it.
If you would like to add a new printer to your tenant, follow the installation instructions above, to install the terminal package on the printing device. Once installed, open your MyQ Roger mobile app and use the Log in button at the bottom-center of the screen to scan the QR code displayed on the MFD.
This way, the connection between your MyQ Roger tenant, your MFD, and your smart phone is established. After choosing the region and scanning the QR code, you see the Printer successfully paired notification on your mobile, and the MyQ Roger log in-screen on your MFD.
There are more possible scenarios when scanning the QR code on the printer, that are also dependent on the user’s permissions:
The printer has not been registered yet with any tenant:
If the user has standard permissions (print, scan, etc.), they cannot pair the device. It fails and an error message is displayed on the mobile phone.
If the user has admin permissions (device pairing), they are able to pair the device with a tenant. The new record of the printer is created under the tenant, and the printer is immediately active. A new QR code is displayed and any user on that tenant is able to log in.
The printer is registered (paired with the same tenant as the user):
The user (with standard and/or admin permissions) is logged in to the printer and can control it via their mobile phone.
The printer is registered with a different tenant:
Since the printer is paired with a different tenant, it cannot be used, and an error message is displayed on the mobile phone.
It’s not possible to bring up the registration screen (with the QR code) on a device once it has been paired to a tenant. The administrator should either release the pairing on the server, or do a fresh re-installation of the embedded application (delete it from the device, and then re-install it).
If you see a request for device pairing, or if you are having issues with logging in, contact your administrator.